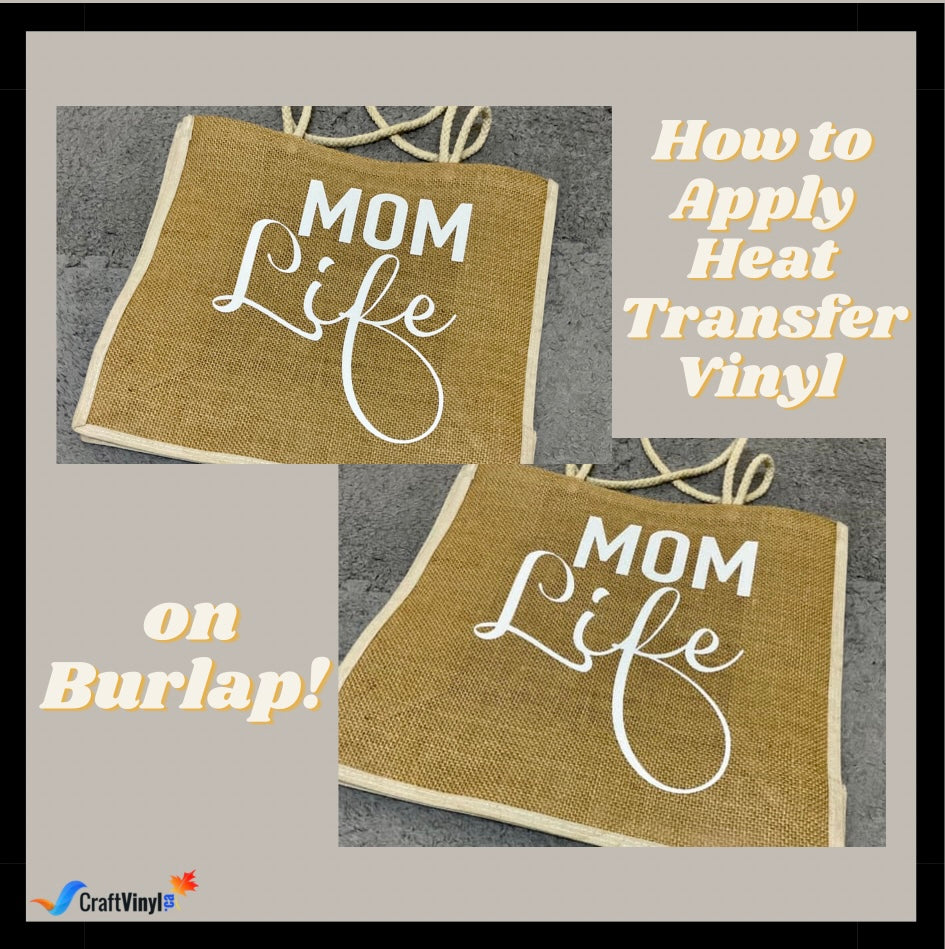
How to Apply Heat Transfer Vinyl on Burlap
Burlap is a material that you often come across with especially when crafting. It is commonly used for household decorating. It is made from natural plant fibers, and has a rough or a coarse texture. Can you apply Heat Transfer Vinyl On Burlap?
Due to its natural surface and feel, burlap can be a tricky substrate to work with especially when applying Heat Transfer Vinyl, which is why we’re here to help and guide you with applying your HTV on your burlap!
The woven material can come in two forms; a tight weave or a loose weave. Below we’ve differentiated the two, in order to help you decide which one to choose.
Two Types of Burlap
Loose weave burlap contains tiny gaps in between the threads of the material; this would leave open holes to the surface. Although HTV can be applied to this substrate, it is important to note that working with loose weave burlap is a little trickier.
The tight weave is the favorable option between the two, considering that it doesn’t have the gaps that the loose weave would have. For this, we would only need to worry about the texture of the surface itself, as applying HTV on rough textures requires a little bit more effort.

After deciding which weave you want to use, we can proceed to gathering the appropriate materials needed for this project.
Materials:
Using a household iron can require a little bit more effort, as we are imitating the pressure and the temperature that a heat press could give. However, when working on small areas, using the household iron can be a little less hassle.
As we mentioned, we have two types of burlap weave. When using a loose weave, we have to use two cover sheets in order to make sure that your surface is protected as the gaps on the material can allow the HTV to melt through and damage the area you’re working on.
Cover sheets can be in forms of Teflon sheet, Kraft paper, Multi-use paper, even a thin towel, a tea towel, parchment paper or a baking sheet. All of these options work just as fine.
Considering the material itself, burlap has a lot of loose fibers. A lint roller can be used before the application process in order to remove these pieces, and provide the HTV the smoothest possible surface for burlap.
We can now start applying the Heat Transfer Vinyl on to the burlap.
Steps on How to Apply HTV on Burlap:
While the machine is cutting your design, you can begin to use the lint roller above the area in which you’re planning to apply the burlap on.

If you want your design to be completely centered, you can fold the HTV in half (sticky side out). Do the same thing for your burlap, and align the creases you’ve made. This way, the HTV will be applied in the right spot.

Again, if you’re using a loose weave, apply a cover sheet below the burlap. If you’re working with a tight weave, then you can ignore this note as we won’t have to worry about the HTV melting and passing through.

Follow the temperatures listed by the manufacturer of the HTV you are using, however, we recommend adjusting the pressure a little higher than the recommended, as burlap has a rough surface that doesn’t easily allow the HTV to form any adhesion.
If you decided to use the household iron, the recommended settings usually vary from cotton to linen. In addition to this, make sure you’re really pressing it down against the burlap, similar to the heat press.
If the HTV you're using does not allow hot peels, then proceed to the next step. In any case that the HTV peels off, peel from a different corner. It is totally fine as we are going to be pressing the burlap one more time.

During this step, you can also bring out your application tool in order to burnish the HTV on the surface of the burlap, this way we can really ensure that it’s staying there.
Doing this would allow the HTV to further settle down, and get absorbed into the burlap. The vinyl that lifted off earlier will also have a chance to adhere more into the surface, hence ensuring that it won’t be peeling off anytime soon.
The purpose of this step is to suck the HTV further into the fabric of the material we are using, this way your craft can last for years in exposed areas.
How to Install Heat Transfer Vinyl On Hats!
When working with tight weave burlap, one good sign you can consider would be when you see the surface of the burlap imprinted onto the surface of the HTV, that’s a good indication that it’s fully adhered onto the surface.
If you’re working with burlap that contains frayed edges, we highly recommend sewing these areas. Failure to do so can cause the individual threads of the burlap to move around especially during the application of the HTV itself. Not only would this make the design a little out of place, but it can result to the HTV tearing apart.

With that, we hope that you learned something from this blog! If you crafted with the help of this blog, make sure to tag us on the following social media sites listed below, or send us a private message in order to get featured on our page!
Facebook: CraftVinyl.ca
Instagram: craftvinyl.ca
You can also check out our online shop, if you want to, on www.craftvinyl.ca, where you can get your vinyl needs! Thank you so much for reading, have a safe and happy crafting, Crafters!


