


Adhesive Vinyl as Car Decals or Stickers
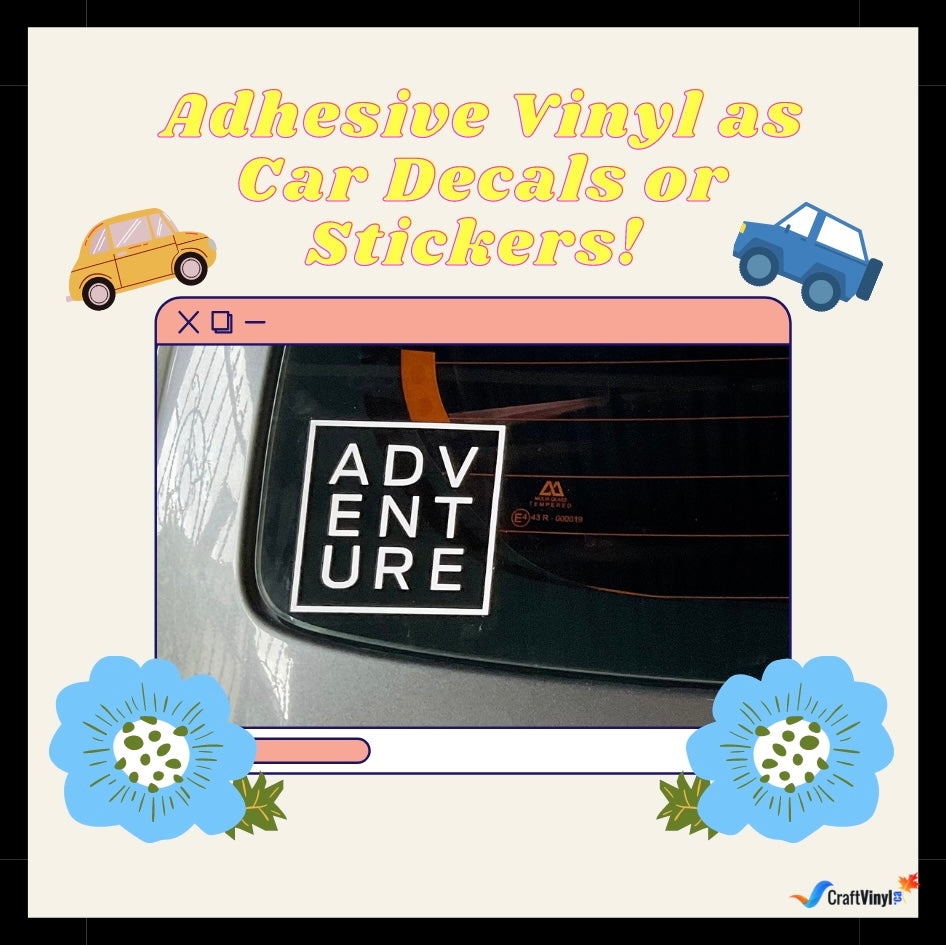
Adhesive Vinyl as Car Decals or Stickers
One of the many good things about adhesive vinyl is that you can apply it pretty much anywhere with a smooth surface, like wood, walls, glass, and even cars! Adhesive vinyl is perfect for this craft because it is designed to last outdoors. Customizing cars using adhesive vinyl is an excellent choice as it is durable, looks way better than paint, and can easily be changed when you want to upgrade and replace the design.
Before showing you how to make and apply the car decals, let us show you two factors you should consider before proceeding!
TWO FACTORS TO CONSIDER
- THE TYPE OF VINYL TO USE
There are various kinds and types of adhesive vinyl to choose from in the market, but not all of them are suitable when making car decals. When making car decals, we want to find an adhesive vinyl that can withstand different temperatures and an adhesive vinyl that is water-resistant. That’s why Oracal 651, Oracal 751, and Oracal 951 are the adhesive vinyl we want to use when making our car decals! You can also use Printable Adhesive Vinyl but remember that there can be discoloration and even peeling some time after application. Make sure to use a laminate on top for a longer-lasting decal. That’s why for this type of craft, we strongly recommend the Oracal 651, Oracal 751, and Oracal 951!
- THE WEATHER
The weather and temperature can significantly affect your decals before and after the application! Warmer days are better when applying the vinyl or your design to your vehicle.
How to make car decals/stickers using Adhesive Vinyl
Step 1 – Prepare the design.
Using your preferred cutting software or application, prepare your design. Choose the design’s colors and re-size it however you would like. After editing the design, pick the adhesive vinyl you will use for this craft. Again, here are the three best adhesive types of vinyl to use:
- Oracal 651
- Oracal 751
- Oracal 951
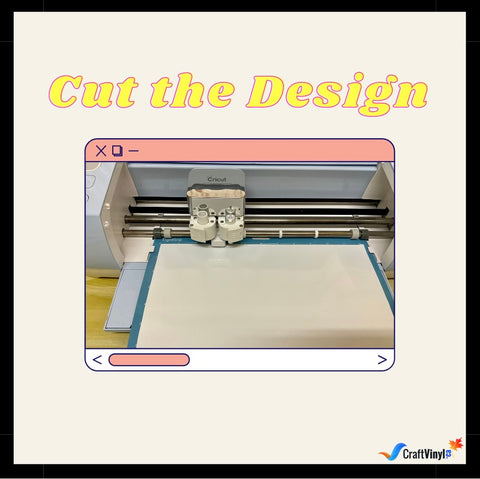
Step 2 – Cut the Design
After choosing the type and color of adhesive vinyl, send the design to cut. There’s no need to mirror the design before sending it to cut since we are not using a heat transfer vinyl. But if the decal is for inside the car, MIRROR the design.
Before loading the cutting mat into the cutting machine, make sure that the vinyl is applied to the cutting mat correctly. The vinyl should be placed shiny side or bright side up.
Step 3 – Weed the Design
After cutting the design, don’t remove the vinyl from the cutting mat. Proceed to weed your design. The cutting mat will help you weed the vinyl easier and will serve as an extra helping hand!

Step 4 – Apply the Transfer Tape
When the transfer tape is applied to the design, get your application tool and burnish the design with firm pressure. Make sure that the design adheres to the transfer tape correctly. To check this, peel one side halfway to check if the design is already transferred on the transfer tape, then put it back and do the same process on the other half. Do not remove all the backing of the design just yet. In this step, we will apply the transfer tape after the adhesive vinyl is completely weeded out!

Step 5 – Prepare the Final Substrate
Clean the surface where the decal is going to be applied. Here’s the step-by-step procedure when cleaning the surface;
1. Clean the surface with soap and water. You can use dishwashing soap as your soap when cleaning the surface. Make sure not to use Windex or any glass cleaner because they may have some chemicals that will affect the adhesion of your vinyl! After cleaning with soap, rinse the surface well and ensure no soap residue is left on the surface.
2. After rinsing the surface, use rubbing alcohol and wipe the surface to remove any soap residue.
3. Lastly, use a microfiber cloth to help dry the surface.
Step 6 – Apply the Adhesive Vinyl
When the final substrate is completely dry, try not to touch it as much as possible. Grab masking tape, your application tool, and your design!
Without removing the paper backing of the design, place the design where you want it to be. The masking tape will help the design remain in its place while applying. If your decal is small and has a square-like shape, place the tape on the top part of the design. And if your decal is long and has a rectangular shape, start by putting tape on the center and then add more on the sides of the design.

We will first show you how to remove the backing of the small, square-like shape. With this size, you’ll lift the decal vertically, which means raising the bottom part of the design, and then carefully remove the backing paper. And then, gently put the decal back down while pressing it (with firm pressure) towards the surface with your application tool.
Step 7 – Remove Transfer Tape
When removing the transfer tape, peel it off at an angle and do it slowly and gently. When the decal and transfer tape is finally applied to the surface, burnish it once again until there are no bubbles or air pockets on the decal.


Now, we’ll show you how to do it with a long and rectangular shape decal. Pick a side that you want to start with. Take the tape off on that side, peel the backing, and then cut it off. Gently place it back in its place while pushing it down with your application tool. Repeat this process on the other side. When all the paper backing is completely removed, burnish the decal until no bubbles or air pockets are left. And then finally, remove the transfer tape at an angle, do it slowly and gently.

And that’s it! We’ve successfully made and applied the car decal! We hope that you find this article helpful and educating! Share this with your family and friends who are also planning on “upgrading” or customizing their car! If you tried making this craft, we’d love to see them! Share them by sending a project picture on our social media accounts! Also, while you’re at it, follow us on our social media accounts to see some tips and tricks for adhesive vinyl and heat transfer vinyl!
Social Media Accounts:
FB: CraftVinyl.ca
IG: CraftVinyl.ca
TikTok: craftvinyl.ca
For your vinyl crafting needs, please check our website at www.craftvinyl.ca. We offer different Adhesive and Heat Transfer Vinyl, perfect for your next project.
Thank you, keep safe, and stay crafty, Crafters!
APPLICATION OF ADHESIVE VINYL ON MUGS
TIPS AND TRICKS WHEN USING ADHESIVE VINYL PART 1


