APPLYING HEAT TRANSFER VINYL ON A HAT: COME AND LEARN WITH US!
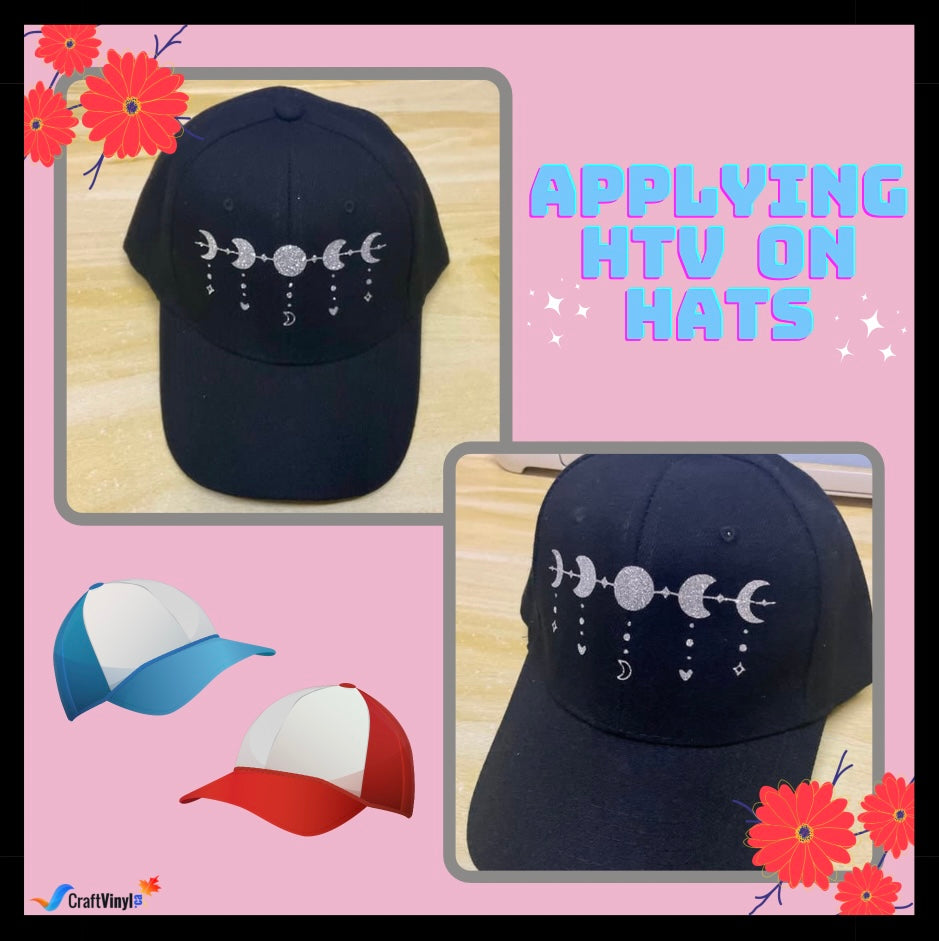
Hats are popular to wear because they may add color and elegance to our outfits. In today's article, we will tackle how to apply Heat Transfer Vinyl on a hat using a household iron. It may not be easy to iron HTV onto hats, but with this guide, you'll be able to do it. Let's get started and learn the step-by-step on ironing Heat Transfer Vinyl on hats!
Before proceeding to the steps, the materials needed are listed below.
MATERIALS:
- Your chosen Heat Transfer Vinyl
- Household Iron
- Teflon sheet
- Cutting Machine
- Weeding tool
- Towel or any thick fabric
- Heat tape
- Measuring tape
Let's now proceed to the step-by-step procedure and enjoy working with it!
STEP 1: CHOOSING AND SETTING UP YOUR DESIGN.
First, we will choose the design and set the proper place for it. Once the desired design is selected, upload it into your Design Space. Grab a measuring tape and measure your preferred size of the hat. After getting measurements, you can begin sizing your design. After sizing both your hat and design, you can now cut your design into your cutting machine.
STEP 2: CUTTING THE DESIGN.
Before you begin cutting, turn on the mirror option. This is usually necessary when working with a heat transfer material. When you mirror a picture, you're simply cutting it out backward.
Load the cutting mat into the cutting machine and press the start button to finish the cuts. Now, place the Heat Transfer Vinyl onto your cutting mat, face-down shiny part. This means that the carrier sheet is the shiny side and the matte part is the heat transfer substance.

STEP 3: WEEDING THE DESIGN.
When you complete cutting, press the unload mat button. Start cutting off the excess vinyl around your design and weeding the unnecessary material using a weeding tool.

STEP 4: APPLYING YOUR DESIGN TO THE HAT.
First, heat your iron and set the proper temperature depending on what Heat Transfer Vinyl you are using. Most of the time, it is set at a high temperature.
The tricky part is about to begin. Hats are tough to flatten, making it difficult to achieve the smooth surface required for HTV application. It's even more difficult if your hat has a center seam.
Simple Tips:
Don't worry because I have a trick for you! The hat's form can make this a little complicated. So, grab a towel or any fabric that is thick enough to be stuffed in the hat, and to help it stand firmly, we're going to fold this towel several times so we can load it neatly into the hat. This will help create a flat surface that will make pressing much more effortless.

The hat has a flexible surface, causing some unevenness, making it move little as you start pressing it. Add some towels or fabric to support it even more to resolve this.

For about 10 seconds, preheat your hat before starting to press the design. After this, you can place the heat transfer decal in the chosen spot of the cap. You can also put a Teflon sheet above your design to reduce the temperature transferred to your heat transfer vinyl to your final substrate. Apply firm pressure for about 20 seconds with an iron depending on your chosen HTV. Curves may occur, so you'll have to press it carefully and press each section separately.

Before peeling up the transfer tape:
- Let it sit and cool for a little while.
- Apply even pressure, and do not move it around too much.
- Check to assess the progress of your project. You can go back over any areas where you believe the heat needs to be applied again.
Tips:
If you struggle to place your design into the hat, put some heat-resistant tape to hold your design onto it. Doing this will keep your design intact to your hat and make it easier to press.
If your design has layers, do the steps over again to your layers until you finish the layers of your design.

And that's it! We are all done with this project, and we hope you had a lot of fun doing this, just like we did while doing this craft! Make a few for yourself or give them as gifts — you could sell them! I hope you've been inspired to try something new and make your own DIY heat transfer vinyl hat. This may seem a little hard to do, but if you keep on practicing doing it and just enjoying crafting it, it will eventually turn into something good.
Thank you for sticking with us! We hope you learned something today, and if you try it, you can send your work and message us on our social media accounts. Don't forget to share this with your family and friends so they will also know the process of applying HTV on a hat. By checking out our website, you can also shop for your own adhesive vinyl. We offer different varieties, colors, and sizes of adhesive vinyl in very affordable prices!
If you are a crafting enthusiast, follow us on our social media accounts to see some tips and tricks for adhesive vinyl and heat transfer vinyl!
Social Media Accounts:
Facebook: CraftVinyl.ca
Instagram: @craftvinylca
TikTok: CraftVinyl.ca
Thank you, keep safe, and stay crafty, Crafters!


