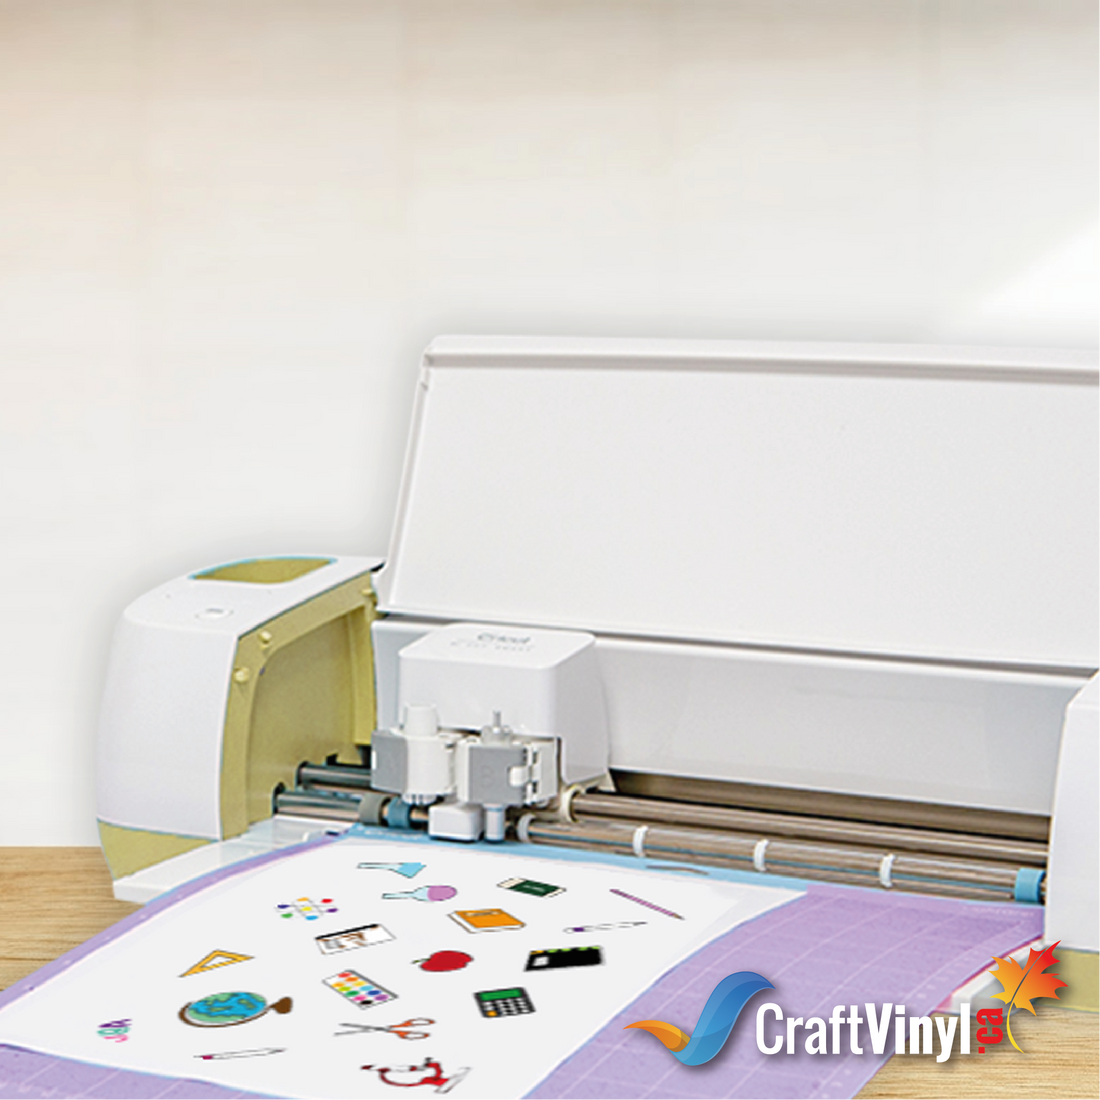
How to Make Vinyl Stickers with Printable Vinyl
Vinyl Stickers! The stickers are colorful and adorable! They’re perfect for customizing things and making personalized items similar to most crafts with vinyl, so we thought, why not combine them into one ideal thing?
They can be made to fit your preferences, perfect for those who want to start their own simple business. It is easy to make, as it only requires your creative mind and a little time. Lastly, it’s fun to do! For this craft, we’re going to be needing the following materials.
Materials:
- Cutting Machine
- Printable Vinyl
- Inkjet printer
- Ink
- Design Software
- Cutting Mat
- Application tool
- Clear vinyl laminate (optional)
For this project, we’ll be focusing solely on Printable Vinyl! It allows the combination of bright colors without the hassle of layering. It also opens doors to many intricate designs, such as watercolor, which allows a soft gradient and mixing of colors. Weeding, in general, is also a process we get to skip when we use printable vinyl.
Although it is possible to make stickers with regular vinyl, remember that you must go through the process of layering each color. Don’t attempt to print on adhesive vinyl; printable vinyl was made for a reason. If you try to print on adhesive vinyl, it would only result in the ink running off the page.
A laser printer doesn’t necessarily work the same way for vinyl as it does for regular paper. It might get too hot and accidentally burn the vinyl. In addition to that, make sure that your printer can handle “thicker” materials. Paper and vinyl don’t exactly have the same thickness. An inkjet printer is needed, as this would be the only thing able to print on printable vinyl. And, of course, ink is a necessity. The more ink you have, the more options you have in terms of color.
Although printable vinyl usually guarantees yearlong user longevity, you can use a clear vinyl laminate to make your sticker last longer (up to 5 years) and make them resistant to water! Yes, water-resistant stickers! But of course, this is optional compared to the rest of the materials.
Now that we’ve got most of the needed items let’s start making the vinyl stickers!
Steps in Making Vinyl Stickers:
1. Prepare your design
Start by opening the Page Set-up panel, in which you’ll need the size of the vinyl you’re using. Next, we can turn on the registration marks to ensure a perfect cut on our vinyl.
Next, start importing your design, picture, or logos that you wish to make into your stickers. If you’re doing this for personal use, you can try to fit as much on a page by turning some images sideways. If you’re using it for your own business, we suggest arranging them in neat lines or grids. Avoid pushing them too close to one another, as this would not provide you much leeway for when we trace the area and add borders.
Don’t go past the red lines as the machine won’t be able to cut past them. Aside from that, don’t place any image on top of the hatch-marked areas as the machine won’t be able to recognize the registration marks.
Using the Select Trace Area under the Trace Panel, use a rectangle shape to cover the entirety of your page, and select Trace Outer Edge in which all of the images would be lined. The spacing you want depends on your design size and preference. If you want a border, don’t forget to remove the original cut lines, use the option offset under the Offset Panel, and create the border.
2. Print your design
Load the printable vinyl matte side up. The glossy part of the printable vinyl is the carrier sheet. After finalizing everything, proceed to File and press print.
If you decided to use a clear vinyl laminate, you could take it now as this is the part where we’ll be applying it. If you choose not to, you can skip to the next step! Start by peeling about an inch of the paper, backing off the clear vinyl, and continue by lining it against your printable vinyl. Using the application tool, gently peel the clear vinyl as you peel the paper backing. Make sure there are no bubbles and eliminate them if any are using the application tool.
If your vinyl bleeds when you apply the clear vinyl atop, make it rest, and again, let the ink settle. Please wait a little while to let the ink settle and avoid making it bleed on the vinyl before sending it to cut. Remember that some inks require time to set. Sometimes it can even take a full day before it dries!
3. Cut your design
Apply the vinyl against the cutting mat and load it into your cutting machine.
Now that you’ve got them cut, just like a regular sticker sheet, you can start peeling them off and sticking them wherever you want! You can use the application tool to press down on your sticker for additional adherence.
You can now enjoy your printed stickers or even start your own business! As long as you’ve got the design or the image you want, you can continue making your stickers through the steps we did in this article!
APPLICATION OF ADHESIVE VINYL ON TUMBLERS
APPLYING ADHESIVE VINYL ON WAX CANDLE
If this inspired you to make your stickers, you could send us a direct message through the following social media accounts listed below to get featured on our page!
Facebook: CraftVinyl.Ca
Instagram: craftvinyl.ca
If you need new materials for your vinyl crafts, check us out at www.craftvinyl.ca! Don’t forget to share this with your family and friends, and of course, always remember to have safe and happy crafting, Crafters!


