


Wax Candles with Adhesive Vinyl!

Applying Adhesive Vinyl on Wax Candles!
Online shopping has been quite the trend, especially during this pandemic. Admit it or not, you’ve probably been shopping online as well! Even if it’s convenient, you and I know it’s different from shopping in physical stores.
One thing that we both might’ve been interested in would be candles! Wax candles provide this home-y effect on anyone’s room and can give you the air of relaxation you deserve. However, when online shopping, we don’t necessarily get to smell or see these candles compared to how they are in real life.
Wax candles aren’t only used for well, lighting up, or perhaps the smell. Please note that you can use them to please the eyes and provide them the luxury of viewing such intricate table settings.
With that, I think it’s time to start!
Materials needed:

- Cutting Machine
- Weeding Tools
- Cutting mat
- Application Tool
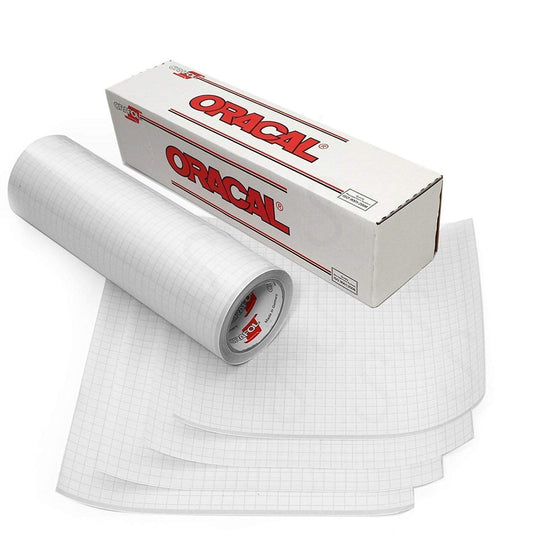
- Adhesive Vinyl
- Candle of your choice
- Transfer tape
For this craft, I highly recommend using a transfer tape that isn’t too sticky but can still be able to give you a grip. Using too much sticky transfer tape would be necessary as it can prevent the vinyl from transferring.
Candle wax is something that can be easily deemed slippery. It’s far more slippery compared to glass. For this, I used a transfer tape with the stickiness I found comfortable! You can also use transfer paper, considering it’s more malleable than clear transfer tape.
As usual, we would use the cutting machine, weeding tools, cutting mat, and application tool to perform this craft. It isn’t entirely different from the usual craft. It’s only a bit complicated due to the difference in the complexity of the substrate we’re about to use.
Now that you’ve got the materials in place, I think it’s time we start working on our crafting project!
Steps in applying the Adhesive Vinyl on Wax Candles!
-
Cut and weed until satisfied
A recommendation we can give you regarding your design would be to choose something that offers your candle a “more luxurious” feel. Make sure that the design you’ve printed out suits the candle and that it can fit the surface! After all, we’re making this craft for the sake of it becoming an “eye candy,” a decorative piece!

-
Apply the Adhesive Vinyl on your transfer tape or transfer paper!
This part is pretty straightforward. As mentioned earlier, one big difference that separates this from other crafts would only be the substrate!
-
Use the application tool!
This application tool would ensure that you’ve got your entire design on your transfer tape (or paper); especially with a tricky surface like this, it’s essential to press it on.
Aside from that, there’s nothing wrong with ensuring everything every step!

-
Carefully wrap the transfer tape around the candle.
Similar to a drinking glass or other materials you might’ve personalized, the candle can give you the same feeling as it might be of the same shape and style.

-
Press on the design to ensure that it sticks onto the wax!
During these steps, ensure you’ve got the design right on the spot you wanted it to be. It’s advisable to do this on top of a flat surface to ensure you’ve got a steady hand, as you don’t want to have shaky hands when the surface you’re handling isn’t pretty typical.
Similar to why you’re using an application tool, this time, we’re using our hands to ensure that the entire adhesive sticks onto the candle. Watch out for the weight of your hand and how much pressure you’re using to press it on. We naturally emit heat, and pressing too hard can cause minor dents that wouldn’t look pleasing on a candle.

A piece of advice:
Be careful if you’re growing your nails, as they can easily penetrate the candle and make marks. It doesn’t require much preparation compared to adhesive vinyl on a wooden surface. Using alcohol on a candle wouldn’t do much, and we can’t prime it, either.
For the lack of a better term, applying adhesive vinyl on a candle doesn’t have a cheat sheet. The only thing it needs is your time and precision to perform the proper procedures and, of course, leave you satisfied in the very end.

NOTE:
With that, it’s essential to note that this candle is not meant for you to light up! They are only necessary for decorative purposes and not as a decoration that you will light up!
Adhesive vinyl can quickly burn up, and we don’t want to burn, damage an area, or worse, cause harm to other people. So, keep an eye on this and DO NOT light them up.
And that brings our journey to an end! Remember to share this article with your friends if you’ve picked up a thing or two from it. A luxurious candle isn’t something that you should keep a secret.
Discover More Great Articles On Crafting
Try adhesive vinyl on other projects. Please click the links below:
APPLICATION OF ADHESIVE VINYL ON MUGS
HOW TO MAKE A LIGHTBOX WITH ADHESIVE VINYL
Made a craft with adhesive vinyl or heat transfer vinyl? You can check us out on the pages listed below! Don’t forget to tag us on social media or send us a direct message so we can feature you on our page!
Social Media Accounts:
FB: CraftVinyl.ca
IG: CraftVinyl.ca
TikTok: craftvinyl.ca
For your vinyl crafting needs, please check our website at www.craftvinyl.ca. We offer different Adhesive and Heat Transfer Vinyl, perfect for your next project.
Enjoy the brand new look of your candle, and always remember to have safe and happy crafting, Crafters!


