


Personalized Door Mats with Adhesive Vinyl!
Personalized Door Mats with Adhesive Vinyl!
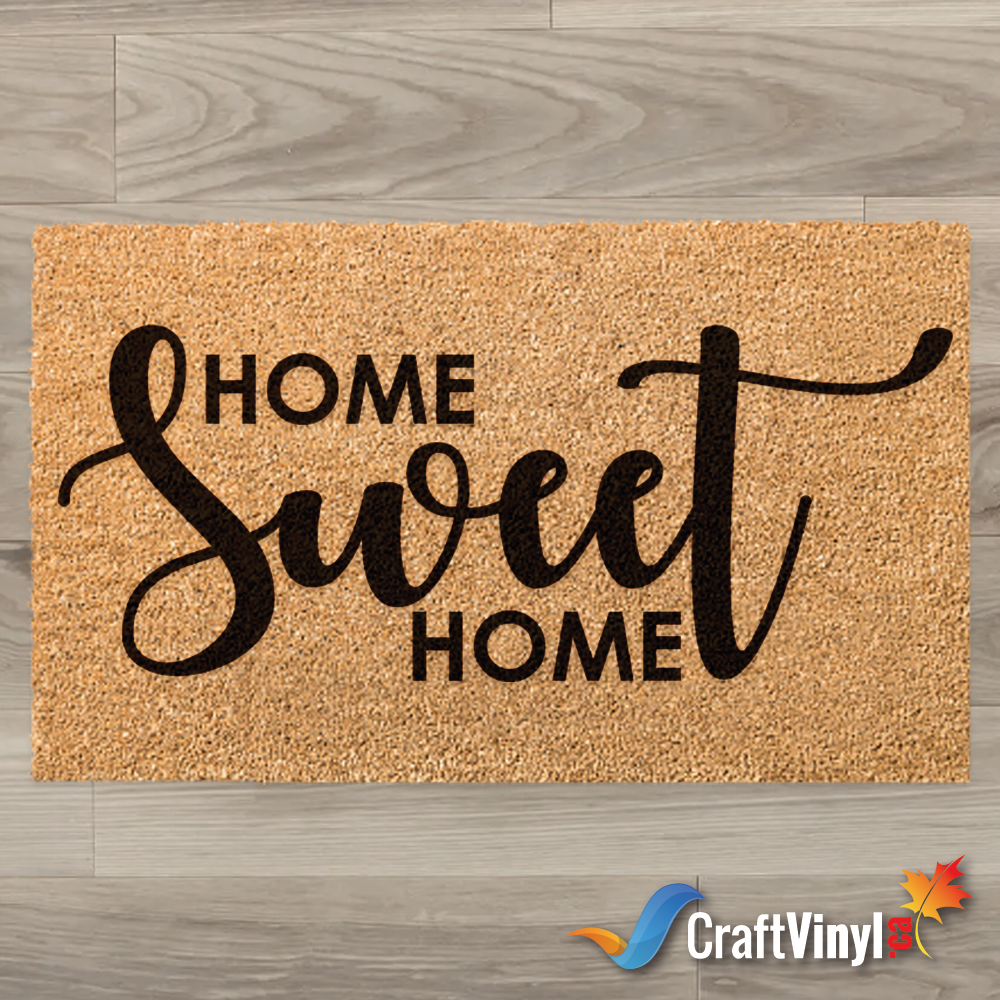
Door mats are a statement piece in your house, as they’re the first thing to greet guests when they come over. So, why not upgrade them to suit your preferences with vinyl?
Not to mention, this craft can be a unique gift too! Enough said we’ll need the following materials for this specific craft!
Materials:
- Cutting machine
- Weeding tools
- Transfer tape or transfer paper
- Cutting mat
- Oracal 651 or other adhesive vinyl
- Application tool
- Outdoor paint or Flex Seal
- Painter’s tape or paper tape (optional)
- Lint roller (optional)
- Ruler (optional)
- Paintbrush (optional)
- Outdoor sealant (optional)
Just like any traditional craft, personalizing door mats needs the usual materials required for a standard adhesive vinyl project. However, you can use stencil vinyl or other versions of adhesive vinyl from Oracal. For this project, we used Oracal 651.
The color of the vinyl you choose isn’t really that important as we would only need it to make a stencil to paint on to customize the mat.
There are two sizes available for the cutting mat, and it’s much preferable if you have a larger size that can accommodate the design you want. But you can also use the most common size, 12x12 inches!
Use a transfer tape that doesn’t have that much of a stick to it. A great tip you can do is to apply it on a cloth first to get rid of the stickiness and make it easier for you to transfer later on.
Outdoor paint or flex seal can be your two different options. Outdoor paint would be able to provide you with a variety of colors, but it won’t last as long as the flex seal would. On the other hand, if you use a flex seal, you have a minimal number of colors.
Optional Items
Moving on to the optional items, number one would be the painters or paper tape. If you have these materials lying around, you can use them during the painting process, primarily if you use the flex seal. However, if you’re confident you can go on without them, you can leave them out.
Aside from that, we can also reuse the transfer tape to serve as your barrier to avoid places we don’t want the paint or the flex seal to reach.
We can also use a lint roller to remove all small bits and pieces in the mat to help the vinyl stick better to the surface and ensure a cleaner final look. Another alternative for this is a piece of transfer tape by lightly dabbing it to remove all the unnecessary dirt.
A ruler is to measure and check if your design is well centered, but you can also check with your eyes alone. The next thing would be the paintbrush, which is only necessary if you use the outdoor paint instead of the flex seal.
And lastly, the outdoor sealant is needed to make the paint more durable, and it’s important to remember that this mat would be going through a lot, getting stepped on and the rays of the sun, you know the works.
With all the materials in hand, we can now proceed to the steps we need to take to personalize your mat!
Steps in Personalizing Your Door Mat:
1. Prepare your design
You can use the slice tool in your design space if you only have the standard mat size, 12x12 inches. Although the mat is 12x12 inches, it can only cut 11.5x11.5 inches. So, you’d want to use the shape tool, select the square shape and change its size to 11.5x11.5 inches.
Drag the square towards the area it fits and select the slice tool. You can now remove the square while you’re left with a design cut to fit your cutting mat. This way, you can be sure you’re cutting the entirety of your design.
2. Cut and Weed your design
You want to remove the actual design, opposite to what you’d usually do. This way, you’re creating a stencil that you can paint over later on.
3. Place the transfer tape or transfer paper with the sticky side up.
4. Gently place your adhesive vinyl carrier sheet up.
The carrier sheet would be thin enough to see through and make out the area you previously weeded out. During this step, you can begin to line up both sides of your design if you cut your stencil twice.
You can use a scrap piece of transfer tape or paper and start using the sticky side and dabbing it against the door mat to remove the dirt. You can also use the lint roller for this part.
5. Remove the carrier sheet and transfer the adhesive to the door mat
After you move the adhesive vinyl, you can use your ruler to ensure that it’s centered properly. It can be beneficial, especially if you have one straight piece of vinyl.
If you’ve got the placement secured, grab the application tool and gently rub the adhesive vinyl down to ensure that it’s adhered to the rough surface of the mat.
6. Gently remove the transfer tape
7. Apply the painter’s tape or the transfer tape you just used to exposed areas of the mat
If you’re using a flex seal, we highly recommend covering the entire surface with your transfer or painter’s tape to avoid scattering the flex seal all over the place.
8. Paint away!
If you use a flex seal, do it outside where there is proper ventilation. Avoid spraying at an angle where the adhesive vinyl isn’t really stuck onto the substrate; chances are it will get under the vinyl.
Let the flex seal rest for a while, but don’t let it dry completely. Around thirty minutes after, where the flex seal isn’t too dry, you can start to peel away the vinyl. If you peel it too late, it will result in the vinyl completely sticking to the door mat!
Using outdoor paint, you can start covering the areas you want to color. The most significant indication that you’ve painted it well enough is when you no longer see the original color of the mat. Now, you can peel the adhesive once it is dry.
If you’ve decided to use the outdoor sealant, you can now apply two to three light layers over the entire door mat to ensure it endures everything it needs to last as a door mat!
We hope you learned a thing or two from this blog! Now you’ve got your personalized door mat! If you want a new one, you can whip up the same materials and make a new one, isn’t that great?
Remember, if you decide to do this, you can send us a direct message on the following social media sites to get a feature from us!
FB: CraftVinyl.ca
IG: CraftVinyl.ca
TikTok: craftvinyl.ca
You can check us out at www.craftvinyl.ca to learn more tips and tricks and, of course, for a fresh new batch of vinyl too! Have safe and happy crafting, Crafters!
Other Articles You May Want to Read
APPLICATION OF ADHESIVE VINYL ON MUGS


