


The Hinge Method
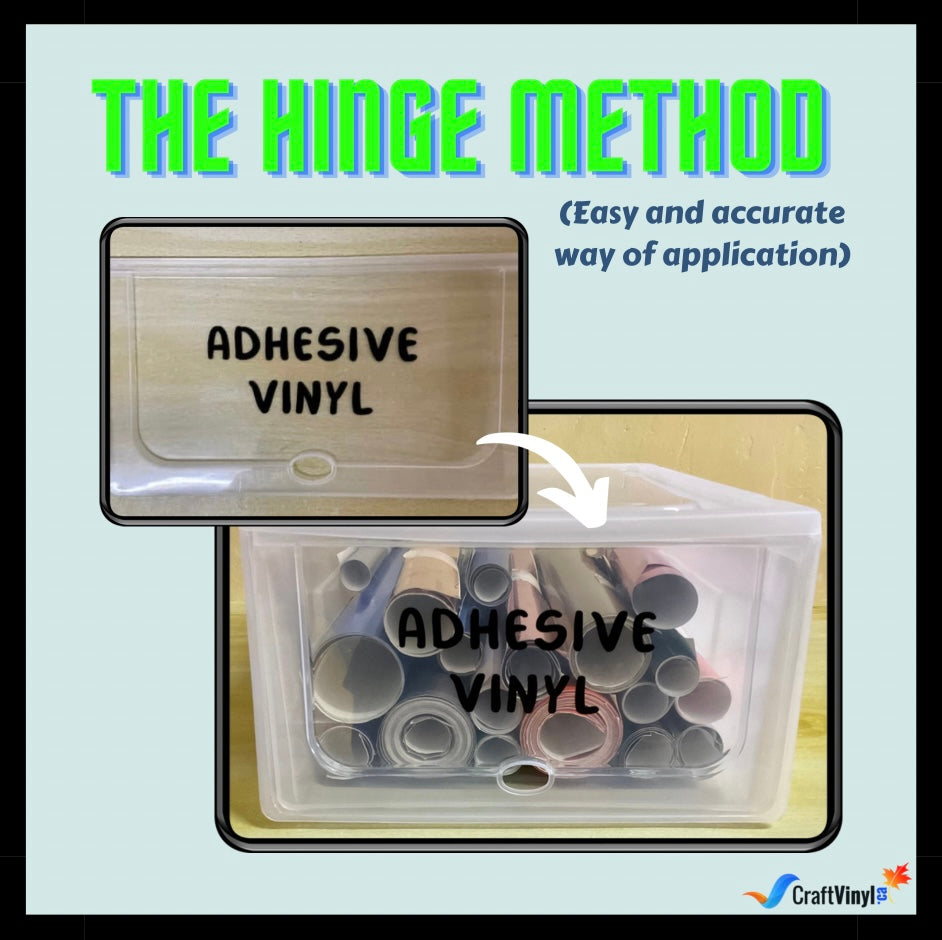
The Hinge Method - Easy and Accurate Way of Application
A great way to apply your vinyl decals would be through the method commonly referred to as The Hinge Method. It allows smooth and accurate applications on the first try. Most importantly, we only need two materials: a ruler and painter’s tape!
To ensure the accuracy of the placement, we must use a ruler. The painter’s tape can then be applied later on. If you don’t have painter’s tape, you can substitute the material with paper tape. It is important to note that painter’s tape is much less sticky than paper tape, which can benefit our craft.
With that, we can begin performing the method itself.
The Hinge Method:
1. Prepare your design.
2. Cut and weed.
When sending the vinyl to cut, it’s essential to use a square or rectangular shape. This way, we can use the ruler more accurately, as rounded edges can give you difficulty measuring the spaces. You also have to weed directly on top of the carrier sheet.

3. Apply the transfer tape.

4. Cut off any excess transfer tape.
5. Place the design on top of the surface.
During this step, bring out your ruler and measure the spaces. This way, you’ll be able to decide on the final location of your design.

6. Apply the painter’s tape.
Grab some painter’s tape and place it in the middle of the decal. For the second time, bring your ruler out and measure if everything is still in the exact location you planned them to be.

7. Peel off the transfer tape.
Pull from one of the sides and gently peel off the transfer tape, reaching the painter’s tape.

8. Cut the carrier sheet.
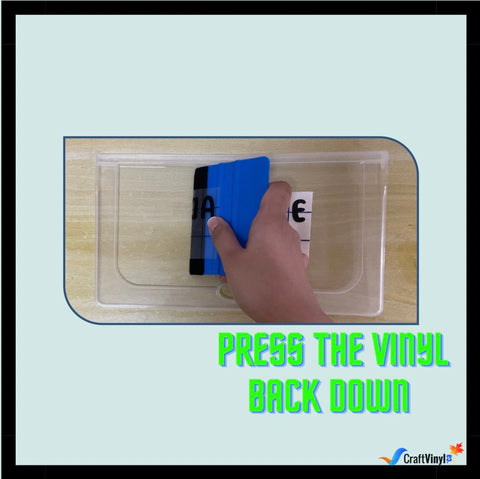
Don’t let the vinyl back down, as this may lead to the formation of bubbles.

9. Using a squeegee, press the vinyl back down from the very center going outwards.
10. Remove the painter’s tape.

11. Repeat the same procedure.
Peel the carrier sheet off, and use the squeegee to press the vinyl back down. Run the squeegee for the second time before finally moving on to the next step.

12. Peel off the transfer tape.

Some people prefer putting the painter’s tape on top of the decal. There you can cut manageable sections, still creating a hinge-like structure. This method is versatile and can be done in large and small decals.
Use your squeegee to peel off the carrier sheet and do it downwards.

If you picked up a thing or two from this blog, please don’t hesitate to share it with your friends and relatives!
We’re interested in your vinyl crafts and would love to see them! You can send us a direct message on the accounts below so we can feature you on our page.
Facebook: craftvinyl.ca
Instagram: CraftVinyl.Ca
TikTok: CraftVinyl.Ca
You can also shop at our online store at www.craftvinyl.ca! We hope you stay safe. Happy crafting, Crafters!


