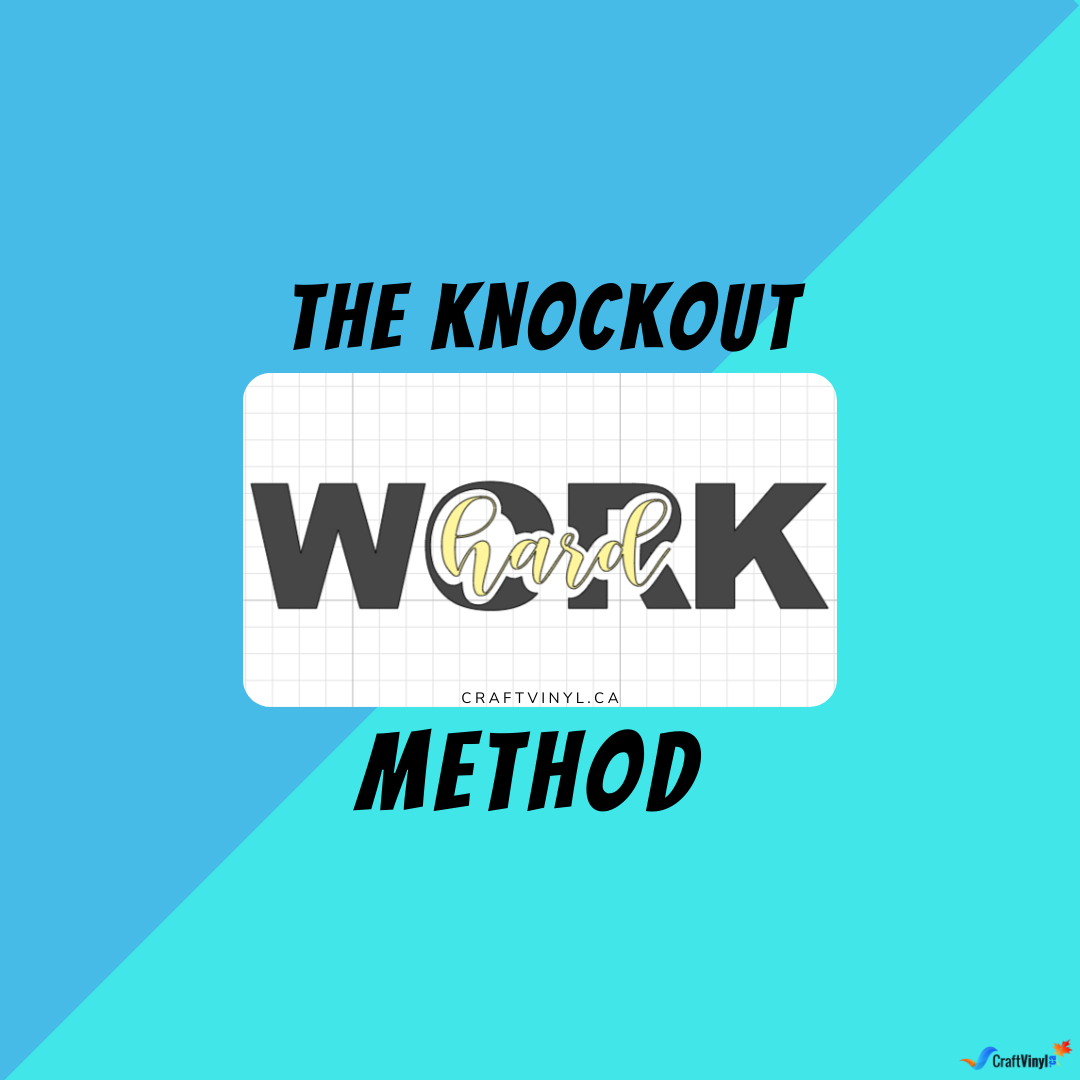
The Knockout Method
We can’t layer Glitter vinyl. However, with this simple trick, we can show the illusion that two Glitter Heat Transfer Vinyl are layered on top of each other. This method is the knockout method.
This method can be done with regular HTV or adhesive vinyl. When using this method, we “knock out” one element of the design, leaving a space on the base layer that fits strictly for the other vinyl you want to put on top. This will eliminate the bulkiness of the vinyl while still achieving the “layered” look that will fit any design.
The materials needed for this are not that different from any traditional HTV craft. We have listed them right below.
Materials:
- Cutting Machine
- Weeding Tools
- Different HTVs, vinyl or adhesive vinyl
- Squeegee
- Substrate of Choice
- (Optional) Heat Press
- (Optional) Transfer Tape
Different colors are not necessarily needed, but since we’re trying to imitate a layered design, we recommend using various colors. However, this is totally up to you and your preferences.
As previously stated, this method is not limited to Heat Transfer Vinyl. Also, it applies to adhesive vinyl. So, we listed the heat press and transfer tape as optional materials, as it depends on the vinyl you will be using.
To start our procedure, we must first create our own design. For this, we will be doing a knockout method on a text. You can follow our guide below:
Creating Knockout Text!
1. Open your design space.
2. Start with the base layer of your design.
The base layer would be the very bottom part of the design if we were to layer the HTV or Adhesive the usual way. Generally, this layer is bold and is often the most significant part of the design. You can choose to make the letters closer by ungrouping the text or by simply adjusting the letter space. In this step, we select all of the letters and “weld” them all together to have them all in one group.

3. Start the next layer.
We recommend using a different and smaller font for this layer. It would be the “knocked out” part of the design. You can decide whether you want to adjust all of the letters closer or farther from each other. This way, we have higher chances of getting more refined lines, as most layers are thin and written in cursive fonts. Again, we’re finishing this step with the “weld” button.

4. Offset
By clicking the second layer of the design, we can click the option “offset.” When we use offset, we can create an outline or an inline. Drag the scroll to the right side of the screen to create an outline, and determine the size you want. The size preview must show with the small outlines. Next, we’ll outline the second layer and the created offset and press the “group” button.

5. Align
Drag the grouped offset with the second layer and place it in your desired location. If you’re having trouble trying to center the design, you can press the “align” option and click center.

Next, we will press the grouped offset, ungroup them, and drag the second layer away—the offset “shadow” on top of the base layer is left.

Proceed to drag the cursor above the offset and the base layer, select slice, and drag the offset away. The offset is no longer necessary; discard it. Now, three sets of cutouts are left.


Now, similar to the primary process, we can start the steps. Cut both of the pieces in your HTV or adhesive vinyl. You have the freedom to choose your colors.
Steps in Applying The Knockout Method to Heat Transfer Vinyl:
- Cut and Weed all of the vinyl parts
- Position the base layer on top of the surface.
- Press the Heat Transfer Vinyl
- Use a squeegee
- Peel the carrier sheet
We recommend checking the manufacturer’s recommended “peel” method to ensure that the HTV won’t peel away from the garment.
6. Gently position the second layer.
Take your time to ensure that it fits the puzzle well. Use the carrier sheet to your advantage, as this would be the draft of your final product. When it is finalized, we can proceed to the next step.
- Press the second layer
- Remove the carrier sheet
And that’s it! You can squeegee the design after each press to make sure that it’s secured in place. Of course, when using adhesive vinyl, eliminate all of the “pressing” steps as adhesive vinyl does not need heat to adhere.
You can also preheat the garment to ensure it’s free from wrinkles. Doing this also eliminates the moisture from the garment, preventing the HTV from clinging to the surface.
You can use The knockout method with images too. This method on pictures looks a lot “crisper” as it doesn’t usually leave spaces and would really look layered. It is common to leave tiny spaces between the base and second layers for the knockout text.
And we’re done! We thank you all so much for reading this blog. Hopefully, you learned something from us and learned some tips and tricks with this knockout method. We would appreciate it if you could share this with your friends and relatives.
If you want to get featured on our page, you can check us out on the following social media sites listed below. Just send us a direct message or tag us using the following pages!
Facebook: CraftVinyl.Ca
Instagram: craftvinyl.ca
Tiktok: CraftVinyl.Ca
You can also check our online store at www.craftvinyl.ca if you’d like! Have safe and happy crafting, Crafters!
A BLAST FROM THE UNEXPLORED SUBLIMATION ON GLITTER HTV


