


Heat Transfer Vinyl on Wood
Applying Heat Transfer Vinyl on Wood
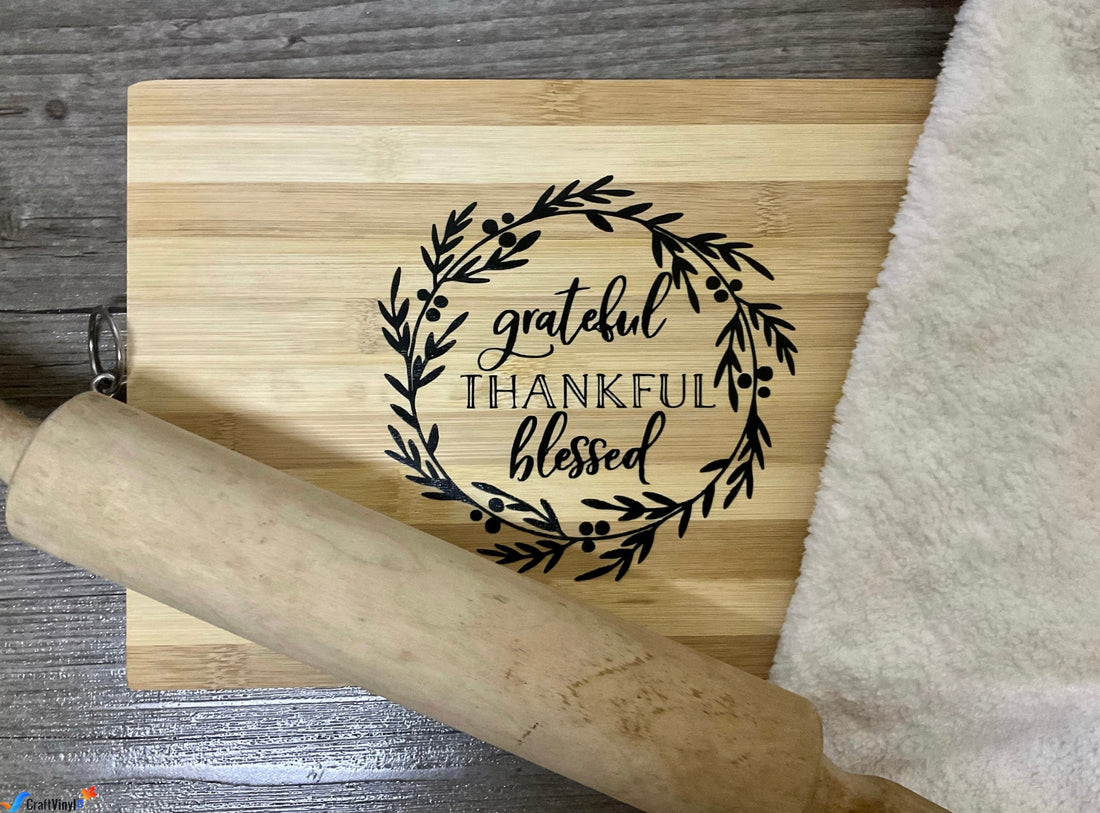
The world of Heat Transfer Vinyl is limitless, most of the time, it's recognized as something that can stick to almost any fabric, but HTV does not end there. It can adhere to other surfaces such as wood, nylon, canvas, metal, etc.
By knowing how to perform these transfers, we're sure your HTV bubble just got immensely bigger. In this article, you'll learn how to apply HTV on Wood!
Heat Transfer Vinyl can be considered more "matte" looking than adhesive vinyl, giving a more "paint-like" feel. Aside from that, the choices are limitless; imagine all the possibilities with HTV! Point proved, here's how you can apply HTV on wood.
Applying HTV on Wood
Materials Needed:
Weeding Tools
Cutting Machine
Heat Press or an Iron
Piece of Wood
Wood Sealer (Optional)
Wood Stain (Optional)
Paint (Optional)
Sandpaper (optional)
Heat Transfer Cover Sheet, Teflon Sheet, towel, etc. (Optional)
Tips for Applying HTV on Wood
The wood sealer can help the Heat Transfer Vinyl stick better to your surface, especially for beginners. You can use rough or untreated wood, but the sealer is here to provide a much smoother surface for your HTV. Paint can also be used here again for the same purpose and decorative purposes.
Teflon Sheets, towels, and other protective sheets you might be used to prevent direct contact can be optional. Using these materials can heavily affect the time you need to let the HTV adhere to the wood properly.
For these types of projects, an Iron would be a much better companion than the Heat Press. Using a Household Iron would be convenient, as wood is not as smooth as the regular garment for your Heat Press. Aside from that, it can help you reach small crevices you might not be able to get.
Sometimes applying adhesive vinyl on wood might be challenging because of the wood's texture. That's why using heat transfer vinyl is a wiser choice for this craft! Using Heat Transfer Vinyl on wood can be a better option than adhesive vinyl, for it will help you achieve a more accessible and quicker process!
Aside from this, HTV can give you lots of options. There are Glitter HTV, Metallic HTV, Holographic HTV, Patterned HTV, and more!
Steps in Applying HTV on Wood:
Now that you've got your materials, it's time to start following the procedures!
If we're honest, the procedures are pretty similar. If you've played around with HTV before, these procedures would feel much closer to home! Applying HTV on wood is not that far from using it on any fabric.
Although they're pretty similar, this does not automatically mean that you should treat them the same way. Applying HTV on wood can be a "harder" process as it depends on whether you think you're doing it right or wrong. It's very crucial to trust your instincts on this one.
1. Prepare your wood! (Optional)
Like garments, you have to prepare your substrate only this time, and it's optional. You can decide whether you'd want to skip painting or doing anything to the wood. You can skip past this or make the surface much smoother for a cleaner look.
2. Choose a design, cut it, and weed your design.

3. Place your HTV on the wood: The Carrier Sheet must be facing up.

4. Heat up your iron or heat press according to the manufacturer's recommended temperature.
5. Place the protective sheet, or whichever you've decided to use, on top of the HTV.
You can skip this step; as mentioned earlier, applying any form of sheet or fabric to separate the vinyl from the iron can prolong the time required to press the HTV on. It's important to note that this can extend the amount of time.
However, by skipping this process, the HTV can burn much faster and cause wrinkles on your finished product. This results from overheating the HTV to the point that you're burning it. The carrier sheet would, of course, burn first, so that's a sign you should look out.

You can resort to giving the HTV a few breaks to prevent wrinkling, thus ruining the final product.
6. Iron the HTV on the wood
Ironing HTV on wood can take much longer than using HTV on garments; remember to apply a bit of pressure when putting it on. This applies to both the iron and the heat press. Please wait for the backing to cool down completely and slowly peel it away.
Additional Tips:
Remember that wood is far smoother compared to shirts and other fabrics. Any slight movement can cause the HTV to slip; therefore, you should always be careful.
Start at the bottom of the design when ironing Heat Transfer Vinyl on several planks of wood connected and slowly make your way up. If the wood has any bumps or gaps preventing a smooth surface, slowly edge your iron against the node.
The adhesive can take as much as 60-70 seconds before it completely adheres; this can give you an idea of how much heat you're giving the HTV. Remember to keep trusting your instincts. Time can also depend on which HTV you're using.

With that said, hopefully, this article can help you in your next craft! Although it seems complicated, remember that there's always a first time for everything! Don't forget to share this article with your friends, so you can continue rocking the HTV game with your wood crafts!
Made something with HTV? Or take inspiration from this article? Visit us on the pages listed below! Don't forget to tag us on Social Media!
Facebook: Craftvinyl.ca
Instagram: Craftvinyl.ca
Also, if you need crafting supplies like Heat Transfer Vinyl, feel free to visit our store, www.CraftVinyl.ca. And with that, keep safe and happy crafting, Crafters!


