Applying Adhesive Vinyl on Textured Surfaces
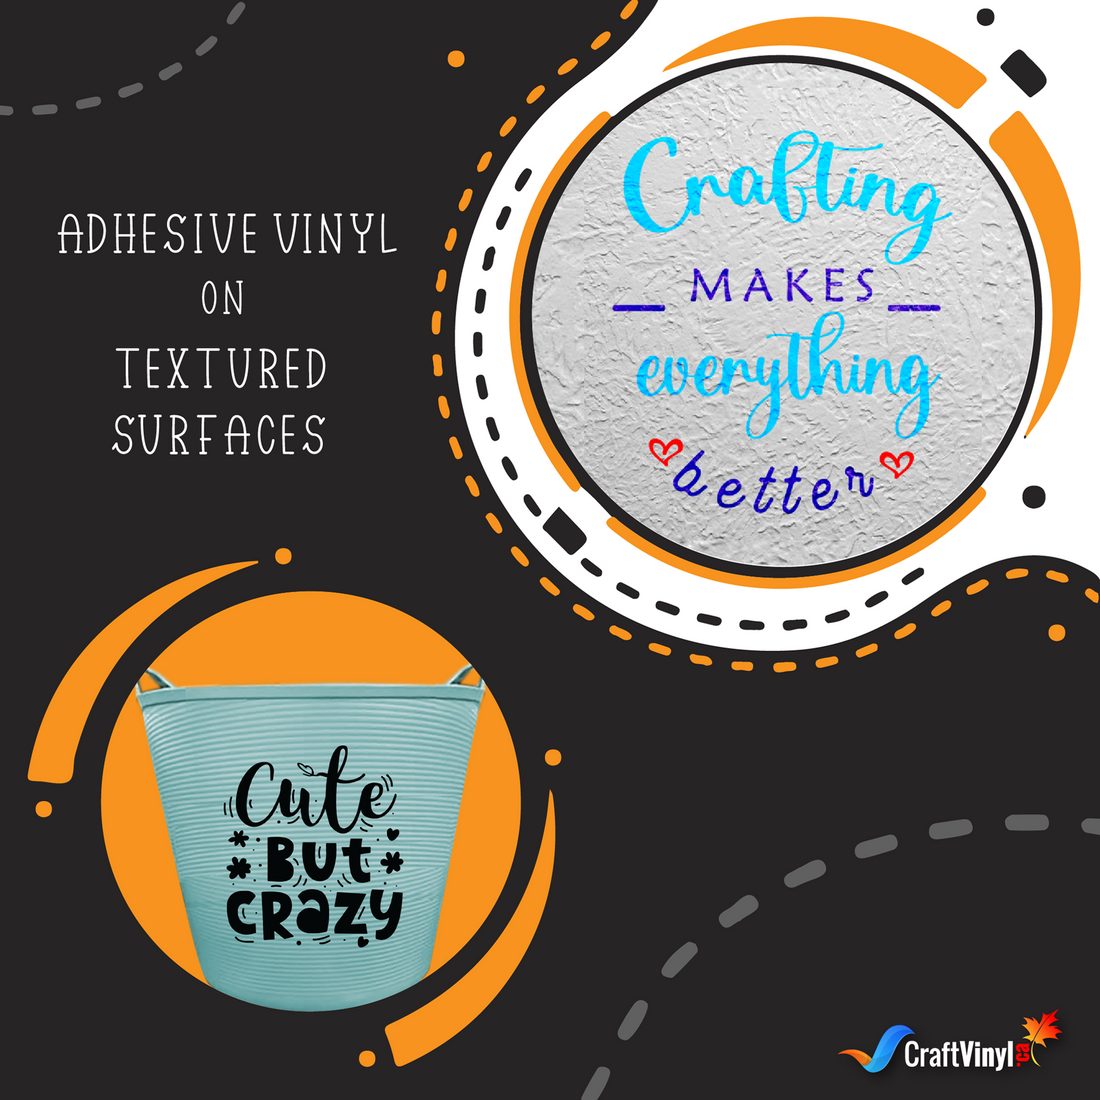
Using Adhesive Vinyl on any surface is usually straightforward. However, we may encounter an item with bumps and ridges that do not allow the adhesive vinyl to form any adhesion with the substrate.
With this blog, we’re teaching you a hack that you can use to help you apply the adhesive vinyl literally everywhere. For this simple trick, we’ll need the following materials listed below.
Materials:
- Cutting Machine
- Transfer Paper or Transfer Tape
- Weeding Tools
- Adhesive Vinyl
- Alcohol
- Tissue or cloth
- Hair Dryer or Heat Gun
We will do the same steps when applying the adhesive vinyl on flat surfaces. The critical difference is that we’d use a hair dryer or a heat gun to assist the adhesive vinyl and ensure adherence.
Adhesive vinyl does not require heat, so why are we using a hair dryer or a heat gun? The heat source is to make the vinyl more malleable and fit the small tiny crevices as if we’re melting it just a little bit to get it in.
A heat gun can be an alternative to a hair dryer. Remember to be extra careful when using it, as the heat might be too much for the adhesive vinyl, and you might accidentally melt it.
A transfer is also needed. Although you can use a transfer tape, transfer paper is highly recommended as it has a lighter adhesive that can make things easier for you when placing the vinyl on the textured surface, and it can be ripped. As mentioned, this would be the same process as most crafts.
Another material we need is alcohol, to be applied with a tissue or cloth. The alcohol would be helpful in terms of removing the excess oils that can be found on the surface and removing any dust or particles that can prevent the vinyl from sticking.
With all the materials laid out, let’s move on to the steps we need to take to apply the vinyl to the textured surface.
Steps in Applying Adhesive Vinyl on Textured Surfaces
1. Prepare your adhesive vinyl
2. Cut and weed your vinyl until satisfied
3. Grab the cloth or the tissue and apply alcohol
4. Clean the surface
Make sure to get every nook and cranny to remove all the dirt and oil lingering on your substrate. An additional tip would be to apply alcohol to your hands. Remember that we also have oil in our palms, which can cause problems when we use them to help stick the vinyl.
5. Apply the transfer paper or tape
If you’re using a transfer tape, an option you could do is grab a cloth and apply the tape there first before placing it on the adhesive vinyl. Doing this will remove “stickiness” from the transfer tape, making it easier for you to remove it later.
6. Transfer the adhesive vinyl onto the surface
With the transfer paper or tape still intact, begin to scrape from the inside to help it stick. Repeat this process to make the removal of the tape or paper easier.
Start pulling away in small sections and work inch by inch; using the app tool or your hand, you can press the adhesive vinyl down on areas where it’s beginning to peel off. This step can take a lot of time, but remember to be patient as the results are worth it!
If you’re using a transfer tape, this process might take a while. Which is why we advised using a cloth to reduce its’ stickiness. On the other hand, if you’re using transfer paper, you can begin to tear off small pieces to get the adhesive to transfer to the final substrate slowly.
If it still isn’t working, use the hair dryer or the heat gun. Then, blow warm air onto the parts with adhesive vinyl. It is to apply gentle heat and help the adhesive mold into the texture, thus making it easier for you to remove the transfer material.
7. Use the hair dryer or the heat gun
Once you’ve successfully removed the transfer paper or the transfer tape, start using your fingers or an application tool. Doing it will aid the adhesive vinyl as you blow with the hair dryer.
Do this in small sections to ensure that all of the vinyl is heated onto the final substrate. This part can be a little critical as adhesive vinyl can melt due to the heat. So, we highly recommend taking a few breaks to let the adhesive cool down before proceeding with your hand or your application tool and start heating the area again.
A good indicator that your adhesive is completely intact is when we begin to see the pattern of the substrate. It means that it’s stuck there as it molded to the design.
Occasionally heating it can be helpful in terms of the vinyl’s longevity, so if you have the time, do it! If the adhesive begins to peel away, you can do the hair dryer technique again. Push the peeling parts back into their original position and stick the vinyl around to where it belongs.
And that’s it! Suppose you’ve used this trick to apply adhesive vinyl on a textured surface and made a craft with adhesive and heat transfer vinyl. In that case, you can send us a quick, direct message on the following social media sites listed below to get featured!
FB: CraftVinyl.ca
IG: CraftVinyl.ca
TikTok: craftvinyl.ca
If you need crafting supplies like adhesive vinyl, you can visit us at www.craftvinyl.ca, where you can choose from an extensive collection of colors and items! With that, have safe and happy crafting, Crafters!
Here are some more Articles you may be interested in.
ADHESIVE VINYL AS CAR DECALS OR STCKERS
ORACAL 651 VINYL AND WHAT ARE SOME OF ITS USES


