


Heat Transfer Vinyl on Cardstock!
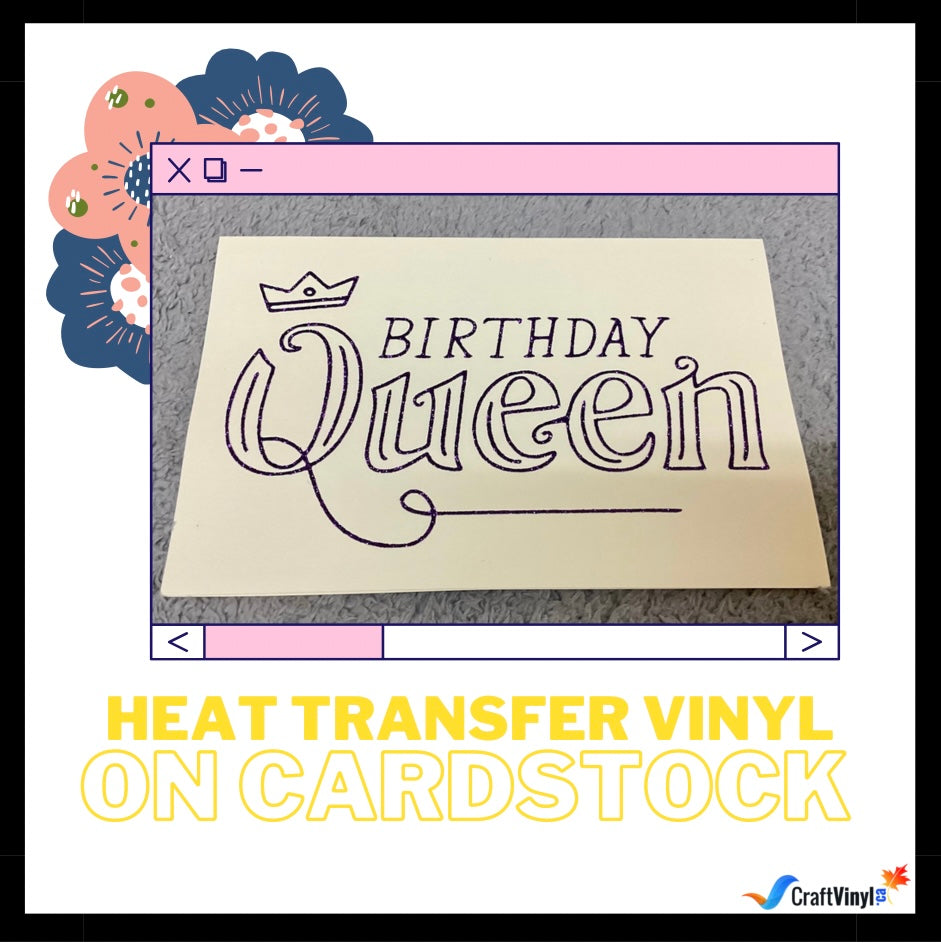
How to Apply Heat Transfer Vinly on Cardstock!
Looking for the perfect Christmas card that best represents you can be a tough job, so why not make your cards using Heat Transfer Vinyl instead? It’s an effortless task that you can perform with simple materials you can find at home!
Crafting with HTV is not just fun. It opens a new world by providing you with many options such as metallic, glitter, or just opaque colors. Aside from this, you can also layer your colors for an extra zing to your new card! Of course, it does the same thing for this craft; you can get to choose whatever HTV you like.
Similar to most Heat Transfer Vinyl projects, we’ll need the same crafting tools, such as the cutting machine and weeding tools. Crafting on cardstock is identical to applying HTV on any item of clothing, but with a few differences.
We’re trying to recreate store-bought cards with materials at home, so we need some cardstock! The paper wouldn’t be a recommended item for this craft as it can quickly burn and is not as durable as the cardstock.
Materials:
- Cutting Machine
- Weeding Tools
- Heat Transfer Vinyl of your choice
- Application tool
- Heat press
- Cardstock
- (Optional) Teflon sheet, tea towel, thin towel, Kraft paper, Multi-Use Paper, Parchment paper, or baking paper.
- (Optional) Transfer paper or tape
A Teflon sheet or any of the materials listed above can be used to apply the vinyl and ensure that we won’t be burning anything while making this craft.
Lastly, you might have some scrap transfer paper or tape lying around, which can be very helpful, especially when we begin to press the HTV onto the cardstock. Doing this will ensure that your designs won’t move around and will be secure in the position you want them to be.
A piece of Advice
We could advise if you want a swift project: to use HTVs with short pressing time. We recommend this, especially if you plan to make many of the same cards! This way, you’ll be going through your layers within seconds.
If you’ve gotten all of the materials you needed, we can now start applying them.
Steps in Applying HTV on Cardstock
1. Measure your cardstock.
Measuring your cardstock would be the very first step of this project. Make sure you’ve folded the cardstock before measuring it, or divide the measurements indicated in the packaging by half.
This step ensures that whatever is on your design space can actually fit and isn’t too big or too small for your card.
2. Cut and Weed until satisfied.

3. Arrange your design on your cardstock.

At this point, if you decide to do layering when customizing your cardstock, you can place the very first layer. If you choose to use the scrap transfer tape, you can apply them during this step to lock your materials in place and eliminate the risk of moving them around.
4. Apply your Teflon sheet or any of the listed materials on top of the HTV

If you’re using the thicker material among our recommendations, remember that you will have to press for a bit longer as the heat is farther away from the vinyl. If you decide to avoid these materials, you can skip ahead to step 5!
5. Press the HTV onto the cardstock with your heat press

There’s no specific time indicated. However, we noticed that anything between 15-30 seconds could be the best option when applying the HTV onto your cardstock. Of course, if you used the Teflon sheet or any of the ones listed, it would mean that you would have to press for a little longer as the heat isn’t directly on the HTV.
6. Use the application tool to burnish the design.

This step would ensure that the entirety of your HTV is completely stuck onto the cardstock. Start using the application tool from the inside, working your way outwards into the corners of your project.
7. Peel the carrier sheet
The transparent film on the back of your Heat Transfer Vinyl is what we’d like to call the carrier sheet. Although it can be peeled cold, for this specific craft, we’d want to peel it off while it’s warm, as cold peels can result in the cardstock and vinyl peeling off alongside the carrier sheet.

Start by doing it slowly from one corner, inch by inch, to ensure that you’re not peeling any adhesives off the cardstock. Repeat the process for all the other layers of your HTV.
If you used standard Heat Transfer Vinyl, at this point, you’re probably done with your craft, and however, if you decided to use foil, we still have a few tips and tricks for you!
Foil Method
Applying the Adhesive vinyl is similar to applying most HTV, but when using foil, you can get creative. You can stick to simply putting a large layer atop the adhesive and get a sleek look.
Or, if you want a distressed look, you can start by first crumbling your foil before applying it on top of the adhesive. Another thing you can do would be to use the foil as soon as the cardstock is out of the heat press and peel it away quickly.
Now that we’ve officially finished, you can start doing this craft on other cardstock materials. Remember that greeting cards are not the only thing you can customize with this craft; you can also do this to make personalized notebooks and other materials!

We hope you learned something new with this blog, don’t hesitate to share it with your friends and family! If you’ve made an HTV or an Adhesive Vinyl craft, you can always send us a direct message or tag us through the following social media accounts to get a feature!
Facebook: CraftVinyl.Ca
Instagram: craftvinyl.ca
If you need any adhesive vinyl or HTV, you can always check us out on www.craftvinyl.ca, where we can tend to your needs 24/7! With that, we hope you have safe and happy crafting, Crafters!


