


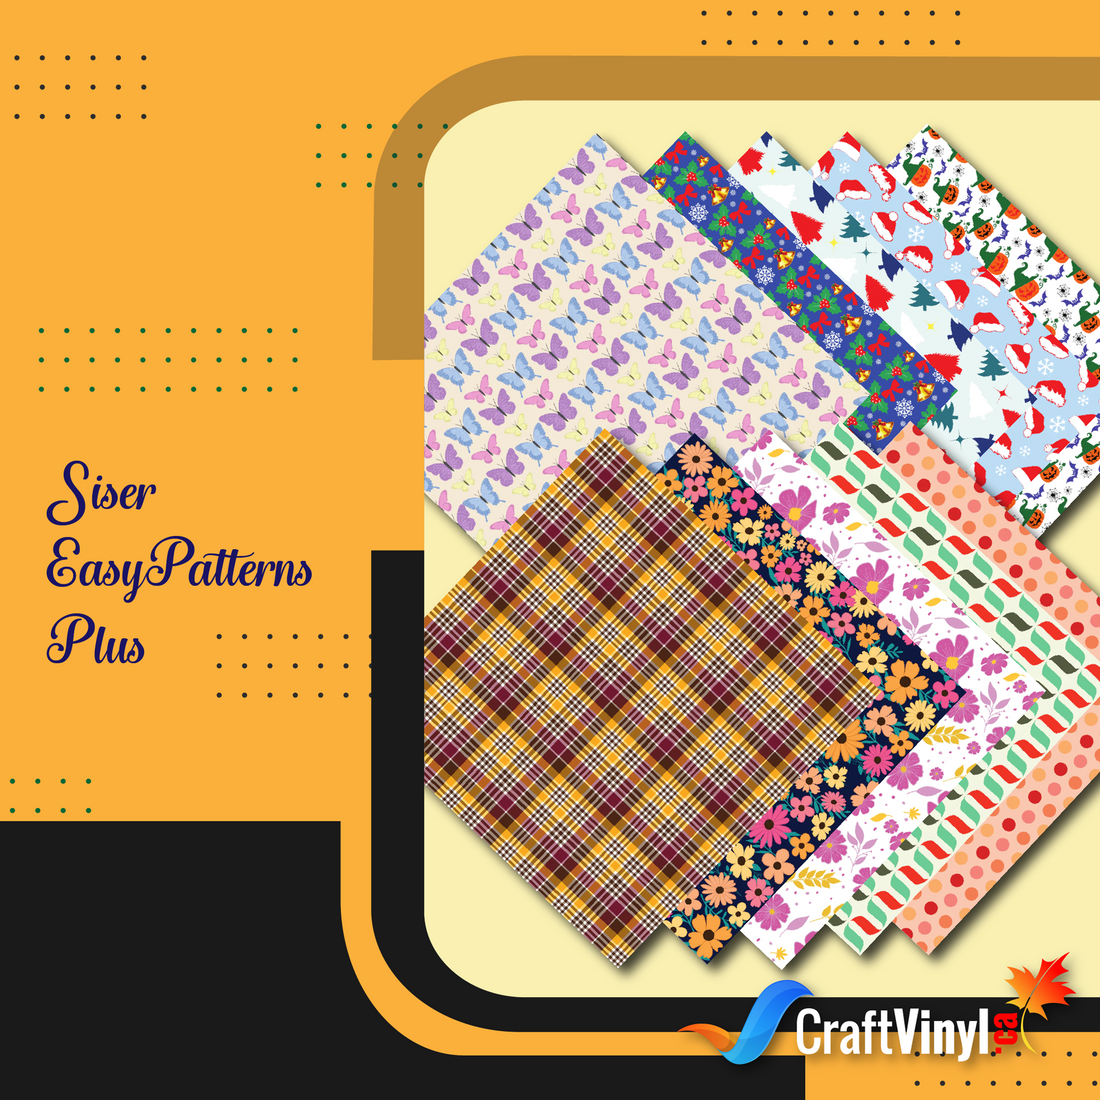
Siser EasyPatterns Plus
Introducing Siser EasyPatterns Plus:
Your Guide to Fun and Trendy Patterns
Since the world of HTV was shaken by EasyPatterns Plus Heat Transfer Vinyl's arrival, creating multicolored designs has never been the same. Thanks to this game-changing twist from Siser, what was once a limited aesthetic landscape has now become a limitless boundary!
So what exactly is this EasyPatterns Plus HTV, and what makes this vinyl special?
EasyPatterns Plus is the go-to solution for crafters layering problems! With its eye-popping collection of fun and trendy patterns, there's no need for mixing and matching different layers of unicolor HTV to have a colorful design. From classic floral prints to vibrant geometric patterns, there's a pattern fit for your creative cravings.
Besides the colorful styles, this iron-on vinyl provides a choice for crafters wanting the convenience of traditional HTV. Unlike EasyPatterns HTV, which was Siser's first patterned vinyl product, EasyPatterns Plus HTV is already pre-masked and thus offers more straightforward application instructions by removing the masking process.
Now that we have a general sense of what and how this vinyl works, let's talk about specific details on how to use it. Of course, every vinyl comes with different settings. And with an HTV as unique as EasyPatterns Plus, a slight difference in application instructions is expected.
Let's start with one of the most reliable vinyl cutters out there- Cricut. Cricut has built a reliable history in vinyl cutting and heat pressing. That's why there's no question as to why we keep on receiving overwhelming inquiries about its compatibility with EasyPatterns Plus HTV.
So, what Cricut Settings do we use for Siser EasyPatterns Plus HTV?
Blade and Material Settings
Let's begin with the recommended blade and material settings for the two most commonly used Cricut cutting machines.
For Cricut Explore Air, the required settings are:
- Blade: AutoBlade, Standard
- Base Material: Iron-on
For Cricut Maker:
- Blade: AutoBlade, Fine-Point
- Base Material: Heat Transfer (Non-Cricut)
The settings of Cricut Cutters are not universal; you need to adjust them from time to time, depending on what you're working on, to ensure that the blade won't cut through the carrier sheet. And since switching Cricut's material settings from one to another can be tricky, we've decided to extend our hand and help you navigate your way through Cricut's design software- Design Space.
After editing and prepping your design for cutting, click the continue button. That's the green button at the bottom right corner of the screen.
Interface
What you'll love about Cricut's Design Space is its user-friendly interface. The first thing you'll notice is how each customizable setting is numbered. Upon clicking that button, you will be transferred to the page where you can set the materials you will use.
At number 1, you'll find the option to set materials. Select Browse All Materials, and then a drop-down button menu will appear. You can browse the list to find your material or search for it using the search engine at the upper right corner of the drop-down menu. For Cricut Explore Air, select Iron On as your base material, while for Cricut Maker, choose Heat Transfer (Non-Cricut).
Once done with the base material selection, you'll notice a drop-down menu for the pressure setting just below the Base Material Setting Button. Here, you can stay with the default mode or go with more or less stress.
You'll Click Edit Tools, then a screen showing your blade options will appear. At number 2, you'll find the setting for blade adjustment. For Cricut Explore Air, set the blade at AutoBlade, standard. Then, for Cricut Maker, select AutoBlade, Fine-Point, and that's it! You've successfully prepared your Cricut for cutting Siser EasyPatterns Plus HTV!
Heat Settings
Let's now inform ourselves of the accurate Heat Setting recommended for EasyPatterns Plus when used in Cricut EasyPress and AutoPress.
EasyPatterns Plus HTV suits well with the following textiles: 100% Cotton, 100% Polyester, Poly/Cotton Blends, and Leather. Check the table below for each base material's specific temperature, time, and pressure requirements.
|
Base Material
|
Cricut AutoPress/ Cricut EasyPress
|
||
|
Temperature
|
Time
|
Pressure
|
|
|
100% Cotton
|
340 °F/170 °C
|
30s
|
Firm
|
|
100% Polyester
|
340 °F/170 °C
|
30s
|
Firm
|
|
Poly/Cotton Blends
|
340 °F/170 °C
|
30s
|
Firm
|
|
Leather
|
265 °F/130 °C
|
20s
|
Firm
|
For crafters using Cricut EasyPress, you need to flip and press for another 15 seconds for cotton, Polyester, and Poly/cotton blend fabrics.
Do you mirror EasyPatterns Plus HTV?
EasyPatterns Plus requires mirroring!
There's a bit of a misconception about Siser's two premium patterned vinyl products. Though both EasyPatterns and EasyPatterns Plus bring the same vibe of fun and colorful pre-printed patterns, the two differ in application.
So, what caused this confusion?
Since the first patterned vinyl from Siser doesn't need to be mirrored, other crafters assume the same process applies to EasyPatterns Plus.
However, since EasyPatterns Plus is already pre-masked, meaning the vinyl comes with a carrier sheet, the need to horizontally flip the image became a must to keep the design in the correct orientation.
How to use Siser EasyPatterns Plus?
Siser EasyPatterns Plus is easy and convenient to use. Just remember to apply the following tricks and tips, and you will surely enjoy top-quality results!
- Don't forget to mirror the design!
- Remember that EasyPatterns Plus is loaded on the cutting machine with the carrier sheet facing down.
- Don't wash it right after pressing. Allow it to settle for at least 24 hours to ensure that the vinyl is fully bonded to the garment.
- Use only mild detergent and avoid fabric softener.
- Avoid soaking it in warm water.
Now, let's put our focus on how to transfer EasyPatterns Plus using a Heat Press:
- Preheat your fabric for 2-3 seconds. This is important to eliminate wrinkles and the remaining moisture in the garment. Plus, it ensures that the surface is flat out.
- After preheating the garment, place your vinyl decal in your desired spot. Add a protective sheet such as a Teflon sheet or parchment paper.
- Manually encode the time and temperature on your Heat Press. This setting varies depending on the textile being used. For common heat presses, the standard set is at 305 °F/150 °C for 10-15 seconds using medium pressure.
- After pressing, immediately peel off the carrier sheet. Check if lifting edges or parts aren't fully adhered to. Suppose there is, press again until the design finally sticks to the substrate.
If you use Cricut EasyPress, free your workspace of any objects. Best if you perform this on a solid surface since you're about to apply force for pressure. Lastly, don't hesitate to check Cricut's heat guide and application instructions for an accurate step-by-step guide.
Application Using Home Iron
Another great thing about Siser's HTVs is that they can be applied using Home Iron. Lucky us, EasyPatterns Plus is no exemption. Be guided by these instructions:
- Like EasyPress, you must secure a solid space that can withstand the force you'll apply to get even pressure. Avoid ironing boards and other weak structures.
- Add a mat or towel under the garment to prevent the surface from heating up.
- Because you can't precisely control the temperature, your best bet is to adjust the iron's dial between Cotton and Linen.
- Preheat the garment for 2 to 3 seconds for the same purpose stated above.
- Position the vinyl decal, and then add a Teflon sheet or parchment paper layer.
- Since the home iron's plate is smaller than the heat press's platen, do small presses until you cover the entire design. Apply medium to firm pressure while pressing for about 15 seconds. Remember that you're not ironing clothes here, so avoid sliding the iron.
- See if the vinyl has fully adhered to the fabric. Check if corners attach well. If not, redo the pressing process till the vinyl graphic completely sticks on the surface, then lastly, peel away the carrier sheet while it is still warm.
Discover More Great Articles On Crafting
Please click the links below and learn about other types of vinyl:
SISER BRICK AND SISER DIGIBRICK
EasyPatterns Plus as the Top Layer
Layering HTV doubles the fun and creativity. That's why it's not surprising to see this vinyl beautifully combined with other heat transfer vinyl.
Aside from giving us many fresh and exciting patterns, EasyPatterns Plus has found its place at the top spot of any layering project, and why not? Any of its vibrant prints make a fitting finale for any multilayered design.
If you still want to confirm with us, EasyPatterns Plus cannot be used as a base layer or a second-layer vinyl. Remember that no other vinyl, not even itself, can be put on top of EasyPatterns Plus.
So, how do we use this vinyl in a layering project?
We will apply short presses to avoid overheating the base layer and overexposing the fabric to extreme heat. Press the first layer for 2-3 seconds, then peel off the carrier sheet. Next, add the EasyPatterns Plus directly on top of the base vinyl, then add a layer of Teflon sheet or parchment paper for heat protection. Then press it again for another 10 seconds, and there you go! You've created a standout graphic design ready to wow the world.
Over the years, we've seen quite some new vinyl variants being introduced, yet only a handful of products have succeeded and made an impact as massive as Siser's EasyPatterns Plus HTV.
True indeed, Siser has found a goldmine here, but it is our craft that this artistic gem has genuinely enriched. Hurry, and don't second guess. Indulge your eyes with stunning prints you can only achieve with Siser's EasyPatterns Plus HTV!
Learn more Vinyl tips and tricks and share your crafting adventures with us. Please visit us on our pages.
Social Media Accounts:
FB: CraftVinyl.ca
IG: CraftVinyl.ca
TikTok: craftvinyl.ca
For your vinyl crafting needs, please check our website at www.craftvinyl.ca. We offer different Adhesive and Heat Transfer Vinyl, perfect for your next project.


