


STRIPFLOCK VINYL
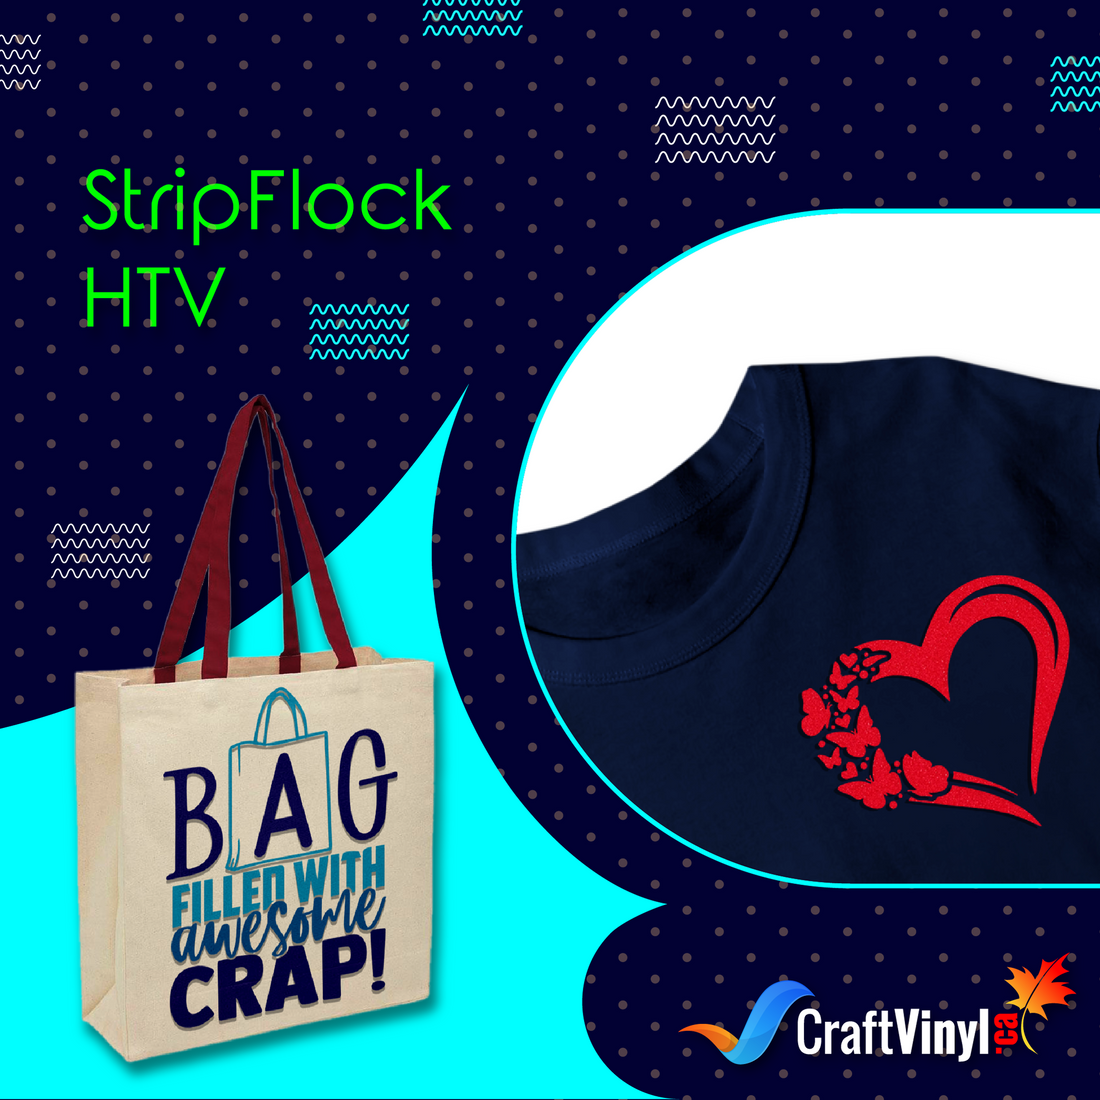
ALL ABOUT STRIPFLOCK VINYL
Do you remember those embroidery patches on your favorite jeans when you were little? Flock vinyl is similar to those, except that it is far more readily available and less expensive.
I want to go over the basics of Stripflock Vinyl, so this type of HTV comprises three distinct layers. The gleaming front is our transparent carrier sheet, a thick plastic piece. It's like a built-in high task mask or a transfer tape. So, you don't have to use these two to pick up your designed vinyl. Then there's our StripFlock vinyl behind, which will peel off of our carrier sheet. This is where you can find the soft velvety finish. The smooth, silky finish and the back is where our adhesive is, activated until it hits the heat.
Avoid wearing lotions and creams when working with any heat transfer vinyl because they can interact with the bond and reduce its durability. You could also wear an oven mitt to avoid nasty burns when working with a heating machine!
The texture and material are the main differences between flock and smooth heat transfer. StripFlock vinyl is fuzzier and pops up for dimension, while soft vinyl is flat and, you guessed it … smooth. Smooth vinyl is more delicate, while Stripflock vinyl is more rigid. The bold colors make Strip FlockVinyl excellent for adding some dramatic effects to your fabric, which is why it could be used as an alternative to embroidery.
What's going on? Is there an alternative to embroidery?
Yes! That's the good news you will hear today! Since StripFlock vinyl has a raised velvet-like texture, it mimics the appearance of embroidery, making it a low-cost alternative. Additionally, embroidering a large image and graphics on a garment can be costly and time-consuming. At the same time, Flock is ideal for full-color designs on sweatshirts or the backs of jackets at a low cost and in less than 5 minutes of labor time. It enables you and your customers to select the best option for their budget. Also, Flock Vinyl is ideal for lightweight garments that may not be able to withstand the weight of embroidery threads, such as women's cotton t-shirts. When embroidered, a two-color t-shirt design on a cotton t-shirt may become too heavy. Flock Vinyl's raised textured finish makes it possible to achieve a quality look while remaining lightweight on the garment. It gives you a professional appearance at a much lower cost. And, if you need a professional-looking logo on your employees' uniforms but have a limited budget, this could be the solution.
Learn more about StripFlock Vinyl, and keep on reading!
WHAT IS FLOCK AND STRIPFLOCK HTV USED FOR?
Crafters consider the mediums they want to use to ensure the adhesion of the vinyl. With Stripflock vinyl, it is advisable to use it for fabrics because of its suede like-texture and velvet finish.
Flock vinyl is fabulous on kids' clothing because it adds softness and cuteness to their clothes.
You could also enjoy using flock vinyl to create professional logos for staff uniforms. The vinyl's texture helps distinguish the logo from the clothing – after all, you want your logo to stand out and be noticed! Flock vinyl is one way to achieve this.
Flock vinyl is also great for sports lovers because it looks excellent on hoodies, caps, and team shirts.
We've also discovered that flock vinyl works particularly well on certain surfaces and fabrics, such as:
- 100% Cotton
- Poly/cotton blends
- 100% polyester
- Leather
Let me give you some types of projects which are best to use with Stripflock vinyl:
Pillows
Let's be honest; we enjoy decorating pillows with various types of vinyl. We enjoy personalizing the designs we want to put on something to make it more unique and to show guests our creativity. So, if your sofa set includes pillows, you can add some fantastic designs to them with strip flock vinyl!
Baby Onesies
With the fuzzy texture of this product, it's the absolute go-to material for infants. I am sure they will also love the cute designs they are wearing!
Logos
You want your business to stand out? So why not use a vinyl that does the same?
Faux Embroidery
To achieve this look, you'll want to layer a thin style vinyl (like Easyweed) and add an offset with Strip Flock Vinyl to the outside. That's a great design idea!
WHAT IS THE CRICUT SETTING FOR SISER STRIPFLOCK?
StripFlock Vinyl is a pretty thick vinyl, and it's incredible when you apply it because it has that nice fuzzy look. But cutting it can be tricky, so it's better to try out some different test cuts and figure out some good cut settings that work for your cutting machine. So now, I will walk you through cut settings to get the perfect cut of your designed vinyl!
Cricut cutting machine is one of crafters' best and trusted cutting machines. All primary cutting machines can easily cut strip flock vinyl with the proper cut settings. Also, if you're using the Cricut cutting machine, it's a good idea to read the instructions first.
Tip: To ensure that your cutting machine cuts correctly, it's best to start with small sample size.
Follow these Cricut settings for Siser Stripflock using Cricut Explore Air and Cricut Maker
Cricut Explore Air
Blade: AutoBlade, Standard
Setting: Iron On
Cricut Maker
Blade: AutoBlade, Fine-Point
Setting: Heat Transfer (Non-Cricut)
HOW DO YOU USE STRIPFLOCK VINYL?
Wonderfully excellent, fluffy, and fuzzy material is the flock. Anytime you want to add texture to your fabrics, you can substitute flock. You can use Flock for several things, including pillows, stuffed animals, and clothing. However, using Stripflock is a little different. Flock is thicker than the regular HTV, as you'll quickly discover. It has a low/short nap but a nice feel. Follow this step-by-step tutorial on how to use Stripflock Vinyl.
1. SELECT
As with all vinyl projects, you must choose your preferred design for your medium. So, if your fabric is dark, selecting a light color of Flock Vinyl, such as white, yellow, green, cyan, and so on, is much better. Choose a dark-colored flock vinyl to emphasize and highlight your design if your fabric is light.
2. MIRROR
After you choose your design, make sure to flip or mirror it before cutting. Because you'll be ironing it face down on your fabric, your design will be backward if you don't flip it.
3. CUT
Now load your flock vinyl on your cutting machine with proper cut settings.
4. WEED
Remove the excess vinyl around your image/lettering once your design is complete (weeding). You can use tweezers to weed the extra vinyl perfectly without tearing the designed vinyl.
5. PRESS
Using a heat press, set your heating machine at 320°F/160°C Temperature, Medium pressure, and about 15-20 seconds are pressing time. Preheat the fabric for 3 seconds before pressing for the best results! Put your designed Stripflock vinyl on your shirt, place a Teflon sheet or parchment paper on top of it, and then press it carefully.
A friendly reminder, my dear crafters; Every type of Heat Transfer Vinyl has its recommended pressing time, temperature, and pressure settings, so do your research to avoid scorching your HTV. Hotter is not always a good idea; if you apply too much heat, the vinyl will not adhere correctly, or it may shrink, and of course, you don't want to damage your fabric too!
6. PEEL
With StripFlock vinyl, it needs to be cooled off first – hence the cold peel. So resist the urge to see your work immediately – put it aside, do something else, and then come back to it. To be on the safe side, you can do a second press (without the carrier sheet) just to make sure it's really on there.
Discover More Great Articles On Crafting
Check these vinyl types and learn other vinyl projects by clicking the links below:
SISER BRICK AND SISER DIGIBRICK
CAN YOU LAYER STRIPFLOCK HTV?
StripFlock Vinyl is a heat transfer vinyl with a suede texture and a raised feel. With a wide range of color options and the ability to layer, this product will provide you with the one-of-a-kind appearance you strive for! You can also layer Strip Flock Vinyl on regular HTV vinyl to create a border around the text, an image, or another design. And you can also layer strip flock vinyl on strip flock vinyl. It brings the design to life and makes it stand out!
StripFlock Vinyl's deep, opaque colors make it ideal for retro designs or any time you want a premium look. This material's ability to be layered tells the user to use multi-color designs! It is perfect for use on caps, bags, and garments that require textured visual interest.
Now, we're going to layer strip flock vinyl to another strip flock vinyl.
Simple step-by-step instructions to layer your StripFlock vinyl:
- First, gather all your needed materials like strip flock vinyl, a cutting machine, tweezers, a heat press, and your shirt. If your first layer is dark, choose a light color as your second layer and vice versa. Your strip flock vinyl must be in contrast.
- So let's assume that you will adhere your name to your shirt. The first layer is black, and the second layer is white. Cut out your name on your cutting machine with appropriate cut settings. Make sure that the size of your designed vinyl will fit perfectly on the size of your shirt. Also, don't forget to mirror your design!
- After cutting it out, weed out the excess vinyl using your tweezers. Don't be too fast in weeding, as it may tear your StripFlock vinyl!
- Now that it is ready to press on, heat and pre-heat your t-shirt for 3 seconds. Put the first layer on it. You can use a ruler to ensure you adhere to your designed strip flock vinyl at the perfect angle.
- Put a Teflon sheet or parchment paper and press it for 5 seconds at 320 degrees Fahrenheit using medium pressure.
- Let it cool completely before peeling off the carrier sheet.
- Once you have already peeled off the carrier sheet, layer the second StripFlock vinyl onto it
- Again, put a Teflon sheet on top of your strip flock vinyl.
- Press it at 320 degrees Fahrenheit using medium pressure for 10 seconds.
- Afterward, you can turn it over and rub it to cool it down completely before peeling off the carrier sheet.
Tips when layering Stripflock Vinyl:
Layering different types of Heat Transfer Vinyl is fun, but what should you pay attention to when combining or layering Stripflock Vinyl?
Pay attention to temperature, time, and pressure. When using an iron or a heat press to stack different layers of heat transfer vinyl on top of each other, you may encounter problems if the temperature, pressure, or time settings are incorrect. Remember that the first layer receives additional heat from each extra pressure when pressing on multiple layers. Assume you printed a four-color design for the recommended 15 seconds per layer. The first layer would have a total pressing time of one minute, which would not look good.
Furthermore, it may shrink if the vinyl is pressed on the heat for too long. The message is to heat the first layer for a short period (1 to 5 seconds). This is especially important for proper design alignment.
For a long-lasting adhesive for your StripFlock Vinyl, follow these washing instructions:
- Wait 24 hours before the first wash
- Machine wash warm or cold/mild detergent
- Dry on standard dryer setting
- Do not dry clean
And that's it! You can now enjoy the new design and texture of your shirt. That was so quick and easy to follow. So, what are you waiting for? Get up and start crafting!
Learn more Vinyl tips and tricks and share your crafting adventures with us. Please visit us on our pages.
Social Media Accounts:
FB: CraftVinyl.ca
IG: CraftVinyl.ca
TikTok: craftvinyl.ca
For your vinyl crafting needs, please check our website at www.craftvinyl.ca. We offer different Adhesive and Heat Transfer Vinyl, perfect for your next project.


