


HTV Beginner's Guide
HTV Beginner's Guide
First time doing an Heat Transfer Vinyl project? Don't know how to use or what to use for your project? Let us help you with your problem! After reading this, you will be ready for anything when doing your first ever HTV project.
What is Heat Transfer Vinyl?
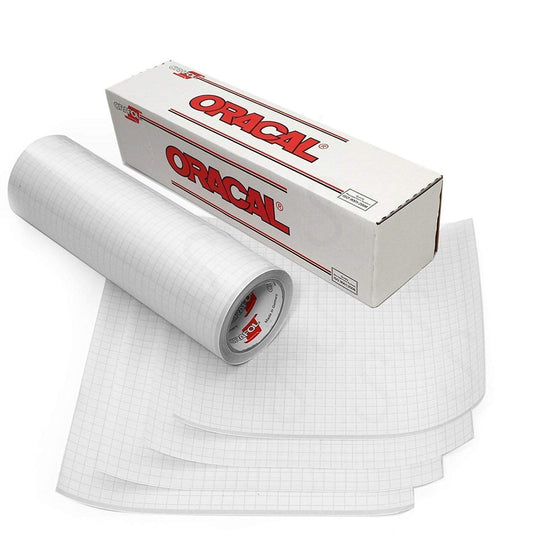
HTV is the most commonly used term for Heat Transfer Vinyls. This type of vinyl differs from adhesive vinyl because it doesn't have a sticky side. It is applied on a substrate using heat. HTV is most commonly used on fabrics like shirts, pillow cases, bags, etc. This type of vinyl has its' carrier sheet meaning you don't need to use Transfer tapes when dealing with HTV. It comes in different colors and different types you can choose from.

Types of HTV
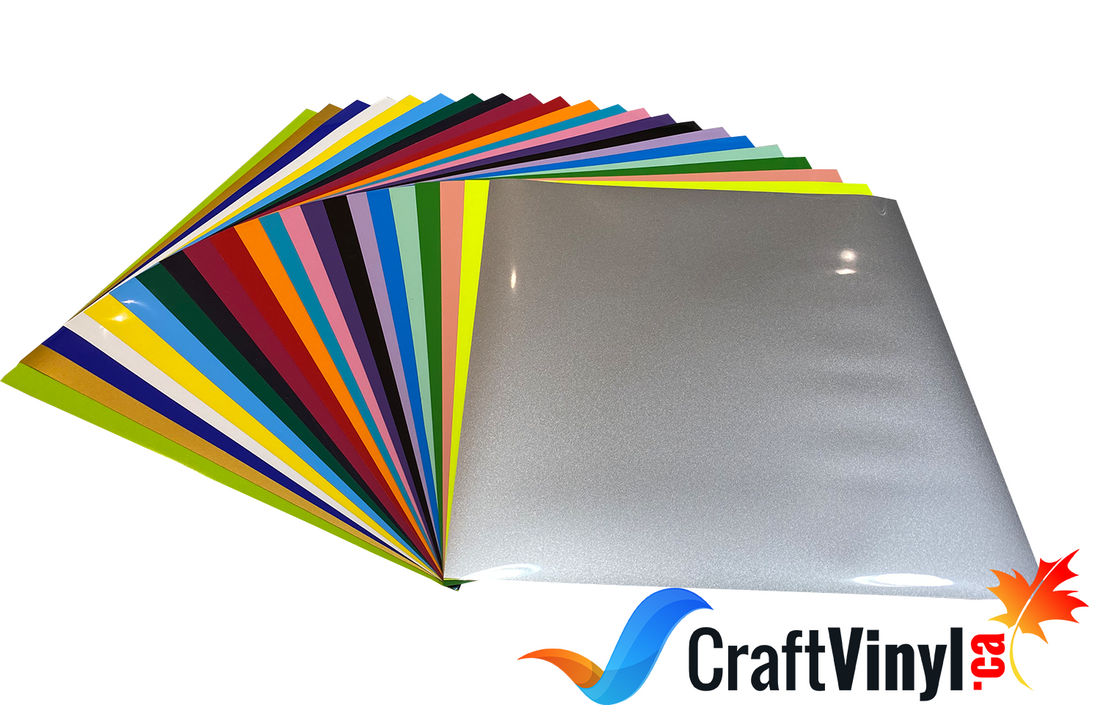
Heat Transfer Vinyl comes in different types and brands. One of the most popular brands is, Siser. We recommend using Siser, especially when you are a beginner, as it is super easy to work with.
Siser comes with different types of Heat Transfer Vinyl, such as; Easyweed. Unlike the other competitor material, you can apply this type of HTV at a lower temperature. You can use this in a substrate with a high percentage of polyester. Materials with a high polyester composition tend to burn easier than other materials. You don't have to wait long to take the backing off as Easyweed is either hot or cold peel. It is also relatively thinner than the other types of HTV, which makes it perfect for layering projects.
Another type of Heat Transfer Vinyl from Siser is the Siser Glitter. This HTV has the perfect sparkle and bling for your next design! Glitter is available in over 30 vibrant colors and doesn't shed any glitter flakes. And it is entirely safe for kids' apparel!

Siser carries many different types of Heat Transfer Vinyl, such as Siser Strech, Glow in the dark, Holographic, Reflective, HTV Patterns, etc.
Factors to Consider and Remember Before Pressing HTVs
There are three factors to consider and remember before working with Heat Transfer Vinyl.
First, TIME. Time refers to how long you must press your design on your substrate. Time may vary depending on what Heat Transfer Vinyl you are using. For Easyweed, we recommend pressing for 10-15 seconds.
Second, TEMPERATURE. It is how hot your heat press should be. Again, it may vary depending on what HTV you are using. Some HTVs need a higher temperature for their adhesive to activate, while other HTVs can be activated at a lower temperature.
Third, PRESSURE. Pressure is the last and final factor you need to consider. It refers to how much pressure you need to press on your design. Not enough pressure is the most common reason why HTVs are peeling off from the shirt. If the design is peeling off the shirt, it means that the pressure on that design wasn't enough or too much. Just like the first two factors, it may vary depending on your use of HTV.
How To Use Heat Transfer Vinyl
Now you know the factors to consider and remember, it's time to craft!
1. After choosing your design, make sure you MIRROR it before sending it to cut.
2. Put your HTV on the cutting mat, glossy side facing down.


It's time for Pressing!
9. Now, press with iron or heat press on the multipurpose paper, Teflon sheet, or parchment paper. Press and hold it with pressure for about 10-15 seconds, depending on what type of HTV you are using. You can press the shirt's back for about 10-15 seconds. Doing this will ensure that the HTV is stuck in the shirt.
10. Before removing the carrier sheet, please remember if the HTV you use is a cold peel or hot peel. Cold peel means waiting for the HTV to cool down before removing the carrier sheet. At the same time, hot peel means removing the carrier sheet even if the HTV is freshly pressed.
11. Carefully remove the carrier sheet. If the HTV doesn't stay on the shirt, put the carrier sheet back again and press the HTV once more, adding more heat and pressure. After this, the HTV should stick to the shirt, and you can remove the carrier sheet easier and faster.

And now you're done!

Note: let the shirt rest and cure for about 2-3 days before washing them!
Discover More Great Articles On Crafting
Check these articles out for a new surface and HTV Tips and Tricks. Please click the links below:
TIPS AND TRICKS WHEN WORKING WITH HEAT TRANSFER VINYL PART1
Now, you're ready to try your first ever HTV project! We hope that you find this HTV Beginner's Guide very educating! If you ever try making this, let us know how it turned out. We would love to see them. Just send us your project on either of our accounts;
Social Media Accounts:
FB: CraftVinyl.ca
IG: CraftVinyl.ca
TikTok: craftvinyl.ca
Check out some of our HTV products at our website at www.craftvinyl.ca. We offer different types of HTV, and it also comes in different colors and is vibrant.
If you loved this article, share it with your friends and family! Stay safe and crafty, Crafters!


