


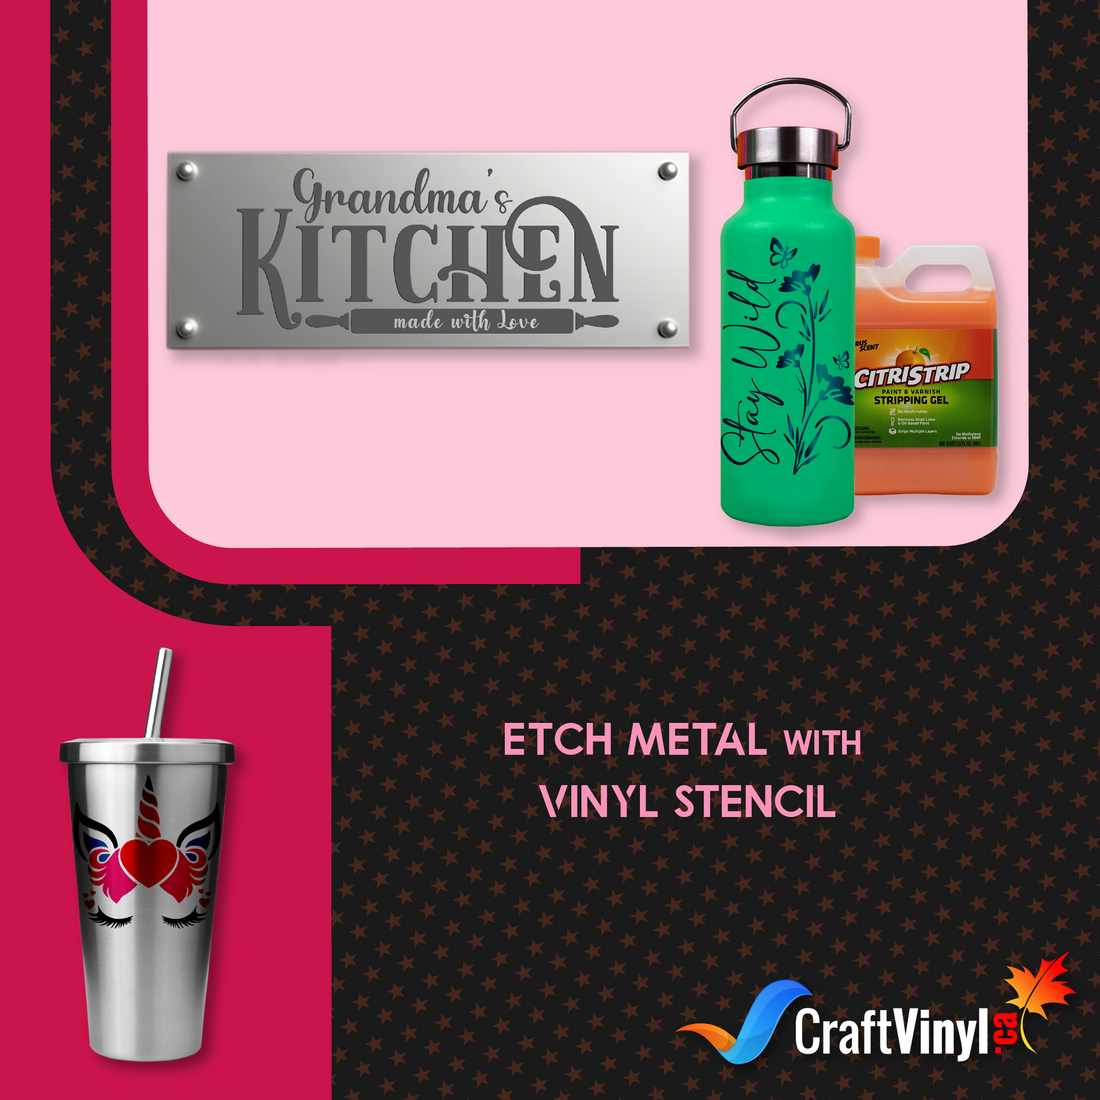
How to Etch Metal with Vinyl Stencils
Can you etch metal with vinyl?
You are probably wondering…can you etch into metal? Well, yes you can with a product called Ferric Chloride.
Because it is highly corrosive to the majority of metals, you should use ferric chloride carefully. Use gloves; after you're done, neutralize it with baking soda. Remembering these things is crucial.
There are times when crafting can be dangerous, so you must take safety measures.
Before we start let me answer a few questions you may have spinning in your head.
1. Can I use etching cream on metal?
No, is the answer. The acid attacks the glass in the etching cream, but stainless steel and other metals are not affected similarly.
2. What acid is used for etching metal?
A few acids, such as hydrochloric acid, nitric acid, or sulfuric acid, will etch stainless steel. However, ferric chloride acts more quickly because it is a stronger acid. This is advantageous for crafting, but you should be careful and wear gloves.
The versatility of metal etching is one of my favorite features! Metal etching is quick (you only leave the cream on for 10 minutes), and glass etching cream will last a long time. Additionally, there are infinite styles to think about once you have decided what to etch.
Learn the techniques of metal etching!
This tutorial will cover the procedures for using vinyl stencils for etching metal.
Step 1: Think of your preferred design, or you can download SVG files for more high-quality images.
Step 2: Cut your design from vinyl or stencil material. We will use Oracal 651 for this project, and We are etching a galvanized metal plaque.
Step 3: Remove the areas you will fill with the etching solution when weeding the design.
Step 4: Stainless steel can also be used for the following procedure. Make sure the surface is clean by wiping it down with acetone before you start.
Step 5: Put the metal with the stencil on it. Here, you must make sure to burnish the stencil into the surface. To prevent etching solution from getting outside the stencil area if the stencil does not extend to the edge of the metal sign, mask off the area with blue painter's tape.
Step 6: When working with the solution for this project, make sure to wear gloves.
Note:We are using ferric chloride as our solution. Read the manufacturer's instructions carefully.
Cotton balls and a small bowl are additional items you'll need.
Step 7: Apply a small amount of the ferric chloride solution to a cotton ball.
Step 8: Over the stencil, lightly dab the solution.
Apply the solution by dabbing the cotton ball across the entire stencil area. Try not to rub it back and forth.
Step 9: Place the used cotton ball in the bowl. Repeat this procedure for 15 minutes by adding more solution to a new cotton ball.
Step 10: Take baking soda and pour it over the stencil.
Do this over the bowl to neutralize the acid on the cotton balls.
Step 11: Remove the stencil and wash the metal sign in the sink.
That's how you etch metal vinyl. I'm pretty sure you want to try more metal mediums.
How do you etch stainless tumblers?
In the crafting community, etching stainless steel has been a hot topic for a while. Still, recently, it seems to be gaining even more popularity. This guide will first demonstrate how to cut a stencil with your cutting tool before explaining how to etch stainless steel. If you enjoy making tumblers, you'll adore this method!
LEARN HOW TO MAKE THESE AWESOME STAINLESS STEEL ETCHED TUMBLERS … IT'S EASIER THAN YOU THINK!
I'm always looking for new techniques and project ideas to share with you. Especially when it's something that might seem impossible to do or something you might not think you can do with your Cricut. For example, did you know you can etch a design on stainless steel? Can you believe it? Pretty impressive, huh?
Let me show you how to etch stainless tumblers.
Step 1: Cut out your stencil vinyl
You only need a Cricut Maker and permanent vinyl to create a stencil. Making your stencil without a cutting machine is possible by tracing the design onto vinyl and then cutting it out. Alternatively, you could buy a stencil. Ensure the ferric chloride won't bleed underneath it and will be secure.
After you download the design, upload it into the design space. To fit your project, you should alter the measurement. Click the "attach" button in the lower right corner of the screen while still keeping them grouped.
You can move the design farther from the edges of the screen with the mat when you get there so that vinyl surrounds it. By doing this, you can be sure that the ferric chloride will only spill over into the vinyl's cut areas and not anywhere else.
Step 2: Weed the design and added the transfer tape.
Using a weeding tool, get rid of the pattern. Remember that this is a stencil, so we are removing what we would typically keep adding to the design. Instead of placing the transfer tape on top of the cut design as you usually would, place the stencil design face down onto the transfer paper this time. Whichever suits you better.
The transfer tape should be "burnished" using the squeegee tool. This makes it easier to prevent those tiny pieces from separating when you don't want them to.
Step 3: Preparing the metal surface
To prepare the metal for the metal etching chemical, ensure it is clean. To do this, clean the area where the design will be with nail polish remover (Acetone) and a cotton ball.
Step 4: Place the stencil and start etching
You are now prepared to lay the stencil down.
Place the vinyl stencil on the metal surface after carefully removing the backing.
Place the entire vinyl piece down once your design is where you want it to be to protect the extra metal from acid damage. To make sure all of the edges have adhered down, use the squeegee tool once more.
To reveal the design prepared for acid etching, remove the transfer tape. Get your bowl, gloves, and baking soda. Oh, yeah, and ferric chloride.
Put on the gloves and load a cotton ball with some ferric chloride. To completely cover the design, pat the ferric acid onto it. Next, put the cotton ball in the bowl. Wait about five minutes, then repeat with a fresh cotton ball. Then, a final time for a total of roughly 15 minutes.
Place the final cotton ball in the bowl with the others. To neutralize the acid, add baking soda to the bowl's cotton balls. The metal pieces also need to be neutralized. Before rinsing it off in the sink, sprinkle some baking soda over the design on the metal piece.
Then you can remove the vinyl for the stencil to reveal the etched design. This is always my favorite part!
Etching vs. Adding Vinyl
The process of etching stainless steel tumblers is more durable than simply adding vinyl and results in a more polished and upscale appearance for your finished product. This is an excellent option for any occasion if you want a unique, personalized gift idea.
These, in our opinion, would make excellent graduation presents or presents for people starting new jobs. Consider creating a pair of them as a gift for a wedding or anniversary.
Discover More Great Articles On Crafting
Please click the links below for more interesting vinyl projects and ideas:
How do you etch a painted tumbler?
Metal tumbler sales are steadily rising in the market for customization. People are happy to pay because these high-quality metal containers keep their beverages ice cold or piping hot all day.
Metal tumblers come in various designs today, including painted, coated, and stainless steel. Brightly colored coated and painted tumblers are readily available and have grown in popularity
Are you curious how to etch tumblers with Citristrip and Cricut Vinyl? This new trend in personalizing tumblers is where you can 'etch' or 'engrave' tumblers. Essentially, you apply a paint stripper over a vinyl stencil. After a bit of time, the paint can be peeled, scraped, and scrubbed off. The results are a personalized tumbler.
You can use a Cricut to cut a vinyl stencil and apply the Citristip on a powder-coated tumbler to look an etched or engraved design without a laser!
Materials:
Cricut
Vinyl
Transfer Tape
Cricut Tools
Citristrip Stripping Gel
Powder Coated Tumbler
Scrubber sponge
Procedure:
1. Creating Stencil Design with Vinyl
In your Cricut design space, create your preferred design stencil. Keep in your mind the measurement of your tumbler and stencil design.
Make sure you have enough space around the stencil, so the stripping gel doesn't hit any other part.
2. Cut and Weed the Vinyl
Load your vinyl on your Cricut machine on whatever cutting machine you have on hand and hit cut.
After cutting, weed it as a stencil.
3. Transfer the Stencil Vinyl to the surface
Next, transfer it to your painted tumbler with transfer tape and burnish it with scraper.
4. Remove the vinyl's backing and place the stencil vinyl right on your tumbler. Then, remove the transfer tape.
Using your finger, press it down gently so that no air bubbles will appear and will not cause the stripping gel to go underneath the vinyl. You can even use a scraper but make sure you're not going to move any of the vinyl pieces.
Once it's done, remove the transfer tape. Use painter's tape on each side of your stencil vinyl to ensure none of the gel gets on the tumbler parts.
5. Paint with stripping gel
Paint it with stripping gel using a foam brush. Make sure you liberally put over all of the loose parts of the stencil. Then, leave it for about an hour.
After sitting for about an hour, take the weeder and double-check to ensure the paint is peeling.
Get some paper towels and wipe off the excess Citristrip gel. Remove also the stencil altogether with the painter's tape.
6. Scrub the design
Then, the last thing you need to do is to scrub gently so you will not ruin those fine lines of your design. It works a lot better with elbow grease and a coarser sponge.
And that's it! Your painted tumbler now has a unique design!
What is the best way to etch stainless steel?
Etching Stainless Steel: Which technique works best?
The choice of materials affects the integrity of every design. If you choose the wrong material, your application could have an unpredictably short lifespan. If you use suitable material, your application has a much higher probability of success.
For many projects, stainless steel is the correct answer. While higher in initial costs, this material delivers long-term value to the applications it serves. In addition to being low-maintenance, 100% recyclable and aesthetically appealing, stainless steel is resistant to corrosion and ductile.
Different Techniques for Etching Stainless Steel
1. LASER ETCHING
Many substrates, including metal, plastic, stone, and glass, can be marked with a visible mark using laser etching, also known as laser engraving or laser marking. A high-heat laser is used in the procedure to modify the substrate's surface.
The energy and substrate used can affect how the material is modified. But most often, the objective is to produce an aesthetically pleasing or legible mark on a product.
2. ELECTROLYTIC ETCHING
Like laser etching, electrolytic etching aims to leave an attractive mark on a surface. However, only metal can be used for this kind of etching.
A metal piece is connected to the positive and negative poles of a direct electric current source for electrolytic etching. Ions pass through the material surface as the current flows, selectively etching the desired areas. Additional complex electrochemical effects might also occur depending on the voltage level and electrolyte concentration.
3. CHEMICAL ETCHING
The substrate, or metal sheet, is laminated with a layer of light-sensitive resistance in the first step of chemical etching. The masked sheet is exposed to an etching solution after the photoresist has been exposed to UV light. The etchant removes the sheet's unmasked regions while keeping the masked areas safe, producing a part. The finished piece, or sheet of finished parts, is stripped of the photoresist. A favorable product image has been created.
Like laser and electrolytic etching, chemical etching can also result in controlled-depth marking. However, chemical etching's primary objective is typically to produce a part, whether or not it is marked.
What's the Best Technique for Etching Stainless Steel?
Chemical etching stands out among these methods for etching stainless steel as the best option because it provides excellent manufacturing capability.
Because the process is flexible, you can design and produce exact parts with intricate features like sharp edges and round holes. You can quickly scale to production once your design is finalized and create rapid prototypes speedily and affordable.
Did you enjoy etching stainless? Please share it with us!
Learn more Vinyl tips and tricks and share your crafting adventures with us. Please visit us on our pages.
Social Media Accounts:
FB: CraftVinyl.ca
IG: CraftVinyl.ca
TikTok: craftvinyl.ca
For your vinyl crafting needs, please check our website at www.craftvinyl.ca. We offer different Adhesive and Heat Transfer Vinyl, perfect for your next project.


