


Chalkboard Vinyl: Everything You Need to Know
WHAT DO YOU USE CHALKBOARD VINYL FOR?
Chalkboard vinyl is exactly what it sounds like. It is made to function as a chalkboard. With regular chalk, it does not work that well.
Chalkboard vinyl may be the best-kept secret for businesses looking to create flexible, dynamic, and easy-to-use signage. Dry-erase boards, non-removable film, large-format inkjet printing, or even traditional chalkboards are more common solutions. Still, the problem is each of these signage tools comes with its liabilities and limitations, especially for specific industries like retail and hospitality that require versatility, ease of use, and simplified cleaning processes.
This vinyl type is simple to install without compromising quality or limiting creativity and can be used on various common surfaces. You can easily apply chalkboard vinyl to surfaces like wood paneling, polished stone, stainless steel, smooth and textured painted walls, concrete, and painted plywood. In contrast, some surface applications, like textured walls, can prove difficult for other types of large signage solutions.
Recap:
Chalkboard vinyl can be applied to a variety of surface types, is appropriate for both indoor and outdoor use, offers superior cleanability, and can be used in wide-format and screen printing applications.
Create custom quotes, removable labels, window decals, calendars, and more with this Chalkboard Vinyl for Cricut. It is appropriate as decoration for holidays or other special occasions.
Here are other DIY ideas to create with your Chalkboard Vinyl:
1. How to Make Chalkboard Vinyl Art
Will vinyl adhere to chalkboard paint or a chalkboard?
Yes! Just remember that vinyl will stick. You must use the proper vinyl to ensure that it adheres. It would be best if you also prepare the chalkboard first. But more on that later.
Not so fast... Before making a successful vinyl chalkboard sign, you'll need a few pointers.
- You should prime your chalkboard.
- To work with a clean slate, clean your chalkboard with a wet cloth to remove any chalk dust. Any dust or chalk on the board will make it difficult for the vinyl to stick.
- Cut your vinyl using whichever method or machine you prefer. Using the transfer tape, adhere your vinyl to your board.
- You'll need to add some chalk to your chalkboard to make it look like a chalkboard sign. You'd think drawing on the board with chalk would be enough, but it won't. You run the risk of damaging the vinyl. Here's an easy way to solve this problem: put a piece of chalk in a Ziplock bag and crush it with a hammer. Insert a paper towel into the bag and fill it with chalk dust. Next, carefully rub the chalk all over the sign. It's as simple as that! Tap off any excess chalk, and you have an excellent chalkboard sign.
Instructions for cutting and applying chalkboard vinyl using Cricut
- Lay vinyl (liner side down) on the cutting mat of your Cricut.
- Choose your image and mat size before inserting it into the machine..
- Click CUT.
Using Cricut Transfer Tape to Prepare
- Utilizing the hook from the Cricut Tool Kit, take the negative pieces out of each image while leaving the liner alone. This is what we call weeding.
- You should remove the transfer tape liner. The adhesive side should be facing down as you hold the transfer tape in each hand.
- Overlay the images with the transfer tape gently. Start in the middle and work toward the edges to prevent bubbles. The tape should be burnished (rubbed or polished) onto the vinyl using a craft stick or scraper from the Cricut Tool Kit.
- At a 45-degree angle, peel the vinyl away from the vinyl liner. If it does not come apart, simply burnish the transfer tape once more onto the vinyl.
Application
- Make sure the work surface is dry and clean. Make certain the images on the transfer tape with vinyl images are straight before placing them on your character.
- Burnish transfer tape onto the surface, working your way from the center to the edges. Use a Cricut Scraper or a craft stick.
- At a 45° angle, peel the transfer tape away from the vinyl. Burnish the vinyl onto the surface once more if it adheres to the transfer tape. After that, keep removing the transfer tape from the vinyl.
2. Chalkboard Fridge Memo Board
I know there is a current trend toward chalkboards, but I couldn't help it. You might be interested in a vinyl chalkboard if, like me, you can't picture decorating your walls with chalkboard paint. Most of you have probably seen the vinyl businesses that offer a wide range of personalized graphics and text for your walls and other surfaces. For the kitchen fridge, you can design a simple chalkboard.
Here is the list of materials for this:
- one sheet of vinyl for a chalkboard
- precise knife
- letter stickers
- scissors
- cup (if you want rounded edges)
- Cute masking tape for taping things if you need more time to attach them to surfaces.
- A chalk marker
Instructions:
Step 1: Trace rounded edges using a cup.
Step 2: Cut the rounded edges
Step 3: Use letter decals to write the text you desire on your chalkboard permanently.
You may now use it to create a very basic, uncluttered whiteboard on your surface. If you'd like, you can stop here or further personalize it.
Optional actions
Step 4: Cut out the design of your choice using a very sharp Exacto knife. If you wanted to, you could sketch out a design beforehand. That would be a better idea!
Step 6: Continue trimming out your design and removing extra vinyl.
Step 7: SLOWLY add the remaining design elements on the surface.
Step 8: Use a chalk marker to start writing.
3. DIY: Chalkboard Embroidery Hoop Signs
Chalkboard embroidery hoops are a fun, stylish, and functional way to say hello, display a favorite quote or verse, or write a love note to someone special.
Do you want to make your own? Here's how to do it:
You will require these materials:
- fabric/vinyl chalkboard
- hoop embroidery
- chalk
- scissors
Instructions:
Step 1: To begin, prime your chalkboard vinyl. You do this by rubbing a piece of chalk lengthwise across your fabric. To remove chalk residue, use a dry cloth first, then a wet cloth.
Step 2: Cut a piece of fabric slightly larger than your hoop. Unscrew the ring, center the fabric, pull it taut, and tighten. Because chalkboard vinyl is a little stiff, this step can be a little tricky.
And that's it!
4. Chalkboard Vinyl Wall Calendar
Whether you're a parent, student, or employee, you need this Chalkboard Calendar Wall Decal to help you organize your busy life. You'll use it frequently to keep track of important tasks, deadlines, final exams, birthdays, doctor appointments, vacations, and more.
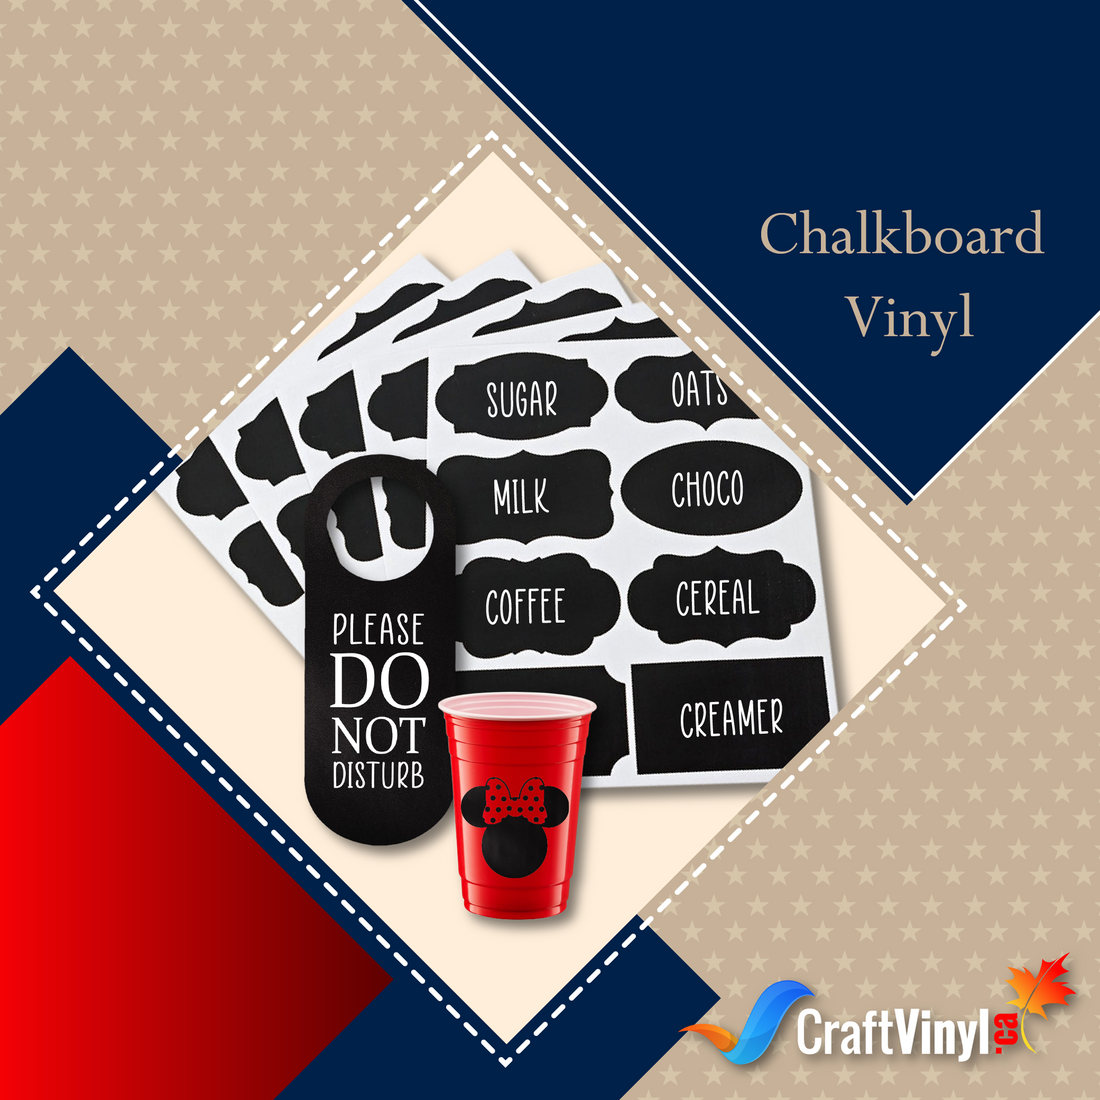
Here are some ideas where you can use your chalkboard vinyl
- Chalkboard Party Cups
- Chalkboard Simple Labels
- Chalkboard Door
- Chalkboard Door Hanger
- Chalkboard Paneled Door
- Chalkboard Pantry Organization
Let your creativity run wild with Chalkboard Vinyl!
IS CHALKBOARD VINYL REMOVABLE?
I know that you are ready to use this excellent craft material but then hesitate if it is permanent or removable.
YES! If you are like me, who wants to change theme and designs monthly, the best type of vinyl for you is that removable one! And if you are asking if chalkboard vinyl is a removable vinyl, the answer is……
The best alternative to permanent chalkboard paint is black vinyl chalkboard contact paper or a sticker because it is easily removed and leaves no trace on the surface.
Using chalkboard adhesive vinyl, you can add a temporary or permanent writable surface to painted walls, metal, glass, mirror, plastic, wood, ceramic, and other flat and smooth surfaces. Use it to create temporary schedules, menus, to-do lists, etc.
Removable chalkboard vinyl is safer in all applications, more environmentally friendly, and free of phthalates, plasticizers, and lead. The removable adhesive film, chalkboard vinyl, is simple to apply to any flat, clean, and smooth surface.
Here are some of the vinyl chalkboard specifications when you purchase:
- Matte chalkboard finish
- Removable adhesive
- Indoor durability - 10 years or more
- One year+ outdoor durability
- Four mils in thickness
- Yes, it is waterproof.
CAN YOU USE CHALK MARKERS ON CHALKBOARD VINYL?
After making some DIY Chalkboard Vinyl projects, you need a marker to start taking notes on your chalkboard vinyl. But again, you'll probably ask if you can use a chalk marker.
And again, the answer is YES!
So how are you going to use this chalkboard marker correctly?
1. Before use, prime the nib.
To prevent spills and smudging:
a. Hold the pen at an angle to the ground and away from the writing surface.
b. Keep writing on the paper until the pen writes clearly.
c. The liquid chalk in the barrel must be forced through the nib's end into the scrap paper by pumping the nib. As the nib needs more liquid, press it down several times to re-saturate it.
The activation process is simple. Shake, pump, and inhale. Shake the marker while holding it diagonally and with the cap on.
2. Press the tip in and then release it on a flat surface. Repeat this process until the ink tip is full. Typically, 20 to 40 pumps are required.
3. Start to write and draw.
Use your chalk marker on non-porous surfaces like:
- vinyl chalkboards (fake blackboards)
- whiteboards
- glass, metal
- sealed ceramic tiles
- laminated surfaces
- galvanized metal
- mirrors
- any sealed non-porous surface
A few Reminder:
- When pumping the markers, avoid exerting excessive pressure on the tip. It might lead to the tips deforming.
- After the task is finished, wait five minutes at room temperature before touching what you write. When putting boards outside during rainy weather, always allow enough time for drying. After an hour, the chalk will be rainproof.
You can easily remove the chalk by wiping it with a damp cloth or by spraying it with a household cleaner and wiping it with a cloth.
4. Keep pen tops and nibs clean. After use, wipe with fresh tissue.
When writing on rough surfaces, pen nibs can become frayed. It is possible to reverse and remove the felt nibs. The nibs can be taken out, cleaned in clear water, dried, and replaced if they become clogged.
If ghosting happens on some surfaces, use a small amount of household cleaner, such as glass cleaner.
Bistro ChalkMarkers is one of the best products you can use for your chalkboard vinyl.
The Bistro Chalk Markers are ideal for chalk drawings, special announcements or advertising boards, window displays, and much more. These great markers write smoothly and dry like chalk. They contain opaque, water-based, pigmented chalk ink. This product can be easily removed from vinyl chalkboards, light boards, windows, and windshields with just a damp cloth.
You can easily layer these quick-drying, smear-proof chalk markers with other colors to create any designs you can think of. Versatile non-porous surfaces, such as vinyl chalkboards, glass, mirrors, windows, metal, and plastic, can be used safely with this product. Wipe away with a cloth and some water to clean.
Get up and start your Chalkboard Vinyl Project to complete your essential tasks! And don't forget to share it with us.
Social Media Accounts:
FB: CraftVinyl.ca
IG: CraftVinyl.ca
TikTok: craftvinyl.ca
For your vinyl crafting needs, please check our website at www.craftvinyl.ca. We offer different Adhesive and Heat Transfer Vinyl, perfect for your next project.
Discover More Great Articles On Crafting
To learn more Vinyl tips and tricks, please click the links below:


